
1. Overview
In this codelab, you'll learn how to use AngularFire to create web applications by implementing and deploying a chat client using Firebase products and services.

What you'll learn
- Build a web app using Angular and Firebase.
- Sync data using Cloud Firestore and Cloud Storage for Firebase.
- Authenticate your users using Firebase Authentication.
- Deploy your web app on Firebase App Hosting.
- Send notifications with Firebase Cloud Messaging.
- Collect your web app's performance data.
What you'll need
- A GitHub account
- The ability to upgrade your Firebase project to the Blaze pricing plan
- The IDE/text editor of your choice, such as WebStorm, Sublime, or VS Code
- The package manager npm, which typically comes with Node.js
- A terminal/console
- A browser of your choice, such as Chrome
- The codelab's sample code (See the next step of the codelab for how to get the code.)
2. Get the sample code
Create a GitHub repository
The codelab source can be found at https://github.com/firebase/codelab-friendlychat-web. The repository contains sample projects for multiple platforms. However, this codelab uses only the angularfire-start directory.
Copy the angularfire-start folder into your own repository:
- Using a terminal, create a new folder on your computer and change into the new directory:
mkdir codelab-friendlyeats-web cd codelab-friendlyeats-web - Use the giget npm package to fetch only the
angularfire-startfolder:npx giget@latest gh:firebase/codelab-friendlychat-web/angularfire-start#master . --install - Track changes locally with git:
git init git add . git commit -m "codelab starting point" git branch -M main - Create a new GitHub repository: https://github.com/new. Name it anything you'd like.
- GitHub will give you a new repository URL that looks like either
https://github.com/[user-name]/[repository-name].gitorgit@github.com:[user-name]/[repository-name].git. Copy this URL.
- GitHub will give you a new repository URL that looks like either
- Push local changes to your new GitHub repository. Run the following command, substituting your repository URL for the
your-repository-urlplaceholder.git remote add origin your-repository-url git push -u origin main - You should now see the starter code in your GitHub repository.
3. Create and set up a Firebase project
Create a Firebase project
- Sign into the Firebase console using your Google Account.
- Click the button to create a new project, and then enter a project name (for example,
FriendlyChat).
- Click Continue.
- If prompted, review and accept the Firebase terms, and then click Continue.
- (Optional) Enable AI assistance in the Firebase console (called "Gemini in Firebase").
- For this codelab, you do not need Google Analytics, so toggle off the Google Analytics option.
- Click Create project, wait for your project to provision, and then click Continue.
Upgrade your Firebase pricing plan
To use Firebase App Hosting and Cloud Storage for Firebase, your Firebase project needs to be on the pay-as-you go (Blaze) pricing plan, which means it's linked to a Cloud Billing account.
- A Cloud Billing account requires a payment method, like a credit card.
- If you're new to Firebase and Google Cloud, check if you're eligible for a $300 credit and a Free Trial Cloud Billing account.
- If you're doing this codelab as part of an event, ask your organizer if there are any Cloud credits available.
To upgrade your project to the Blaze plan, follow these steps:
- In the Firebase console, select to upgrade your plan.
- Select the Blaze plan. Follow the on-screen instructions to link a Cloud Billing account to your project.
If you needed to create a Cloud Billing account as part of this upgrade, you might need to navigate back to the upgrade flow in the Firebase console to complete the upgrade.
Add a Firebase web app to the project
- Click the web icon
 to create a new Firebase web app.
 - Register the app with the nickname Friendly Chat. Don't check the box next to Also set up Firebase Hosting for this app. Click Register app.
- On the next step, you'll see a configuration object. You don't need it right now. Click Continue to console.

Set up Firebase products
The application that you're going to build uses Firebase products that are available for web apps:
- Firebase Authentication to easily allow your users to sign into your app.
- Cloud Firestore to save structured data on the cloud and get instant notification when data changes.
- Cloud Storage for Firebase to save files in the cloud.
- Firebase App Hosting to build, host, and serve the app.
- Firebase Cloud Messaging to send push notifications and display browser popup notifications.
- Firebase Performance Monitoring to collect user performance data for your app.
Some of these products need special configuration or need to be enabled using the Firebase console.
Set up Authentication
To allow users to sign in to the web app with their Google accounts, you'll use the Google sign-in method.
- In the Firebase console, navigate to Authentication.
- Click Get started.
- In the Additional providers column, click Google > Enable.
- In the Public-facing name for project text box, enter a memorable name, such as
My Next.js app. - From the Support email for project drop-down, select your email address.
- Click Save.
Set up Cloud Firestore
The web app uses Cloud Firestore to save chat messages and receive new chat messages.
Here's how to set up Cloud Firestore in your Firebase project:
- In the left-panel of the Firebase console, expand Build and then select Firestore database.
- Click Create database.
- Leave the Database ID set to
(default). - Select a location for your database, then click Next.
For a real app, you want to choose a location that's close to your users. - Click Start in test mode. Read the disclaimer about the security rules.
Later in this codelab, you'll add Security Rules to secure your data. Do not distribute or expose an app publicly without adding Security Rules for your database. - Click Create.
Set up Cloud Storage for Firebase
The web app uses Cloud Storage for Firebase to store, upload, and share pictures.
Here's how to set up Cloud Storage for Firebase in your Firebase project:
- In the left-panel of the Firebase console, expand Build and then select Storage.
- Click Get started.
- Select a location for your default Storage bucket.
Buckets inUS-WEST1,US-CENTRAL1, andUS-EAST1can take advantage of the "Always Free" tier for Google Cloud Storage. Buckets in all other locations follow Google Cloud Storage pricing and usage. - Click Start in test mode. Read the disclaimer about the security rules.
Later in this codelab, you'll add security rules to secure your data. Do not distribute or expose an app publicly without adding Security Rules for your Storage bucket. - Click Create.
4. Install the Firebase command-line interface
The Firebase command-line interface (CLI) allows you to use Firebase Hosting to serve your web app locally, as well as to deploy your web app to your Firebase project.
- Install the CLI by running the following npm command:
npm -g install firebase-tools@latest
- Verify that the CLI has been installed correctly by running the following command:
firebase --version
Make sure that the version of the Firebase CLI is v13.9.0 or later.
- Authorize the Firebase CLI by running the following command:
firebase login
You've set up the web app template to pull your app's configuration for Firebase Hosting from your app's local directory (the repository that you cloned earlier in the codelab). But to pull the configuration, you need to associate your app with your Firebase project.
- Make sure that your command line is accessing your app's local
angularfire-startdirectory. - Associate your app with your Firebase project by running the following command:
firebase use --add
- When prompted, select your Project ID, then give your Firebase project an alias.
An alias is useful if you have multiple environments (production, staging, etc). However, for this codelab, let's just use the alias of default.
- Follow the remaining instructions on your command line.
5. Install AngularFire
Before running the project, make sure you have the Angular CLI and AngularFire set up.
- In a console, run the following command:
npm install -g @angular/cli
- Then, in a console from the
angularfire-startdirectory, run the following Angular CLI command:
ng add @angular/fire
This will install all the necessary dependencies for your project.
- When prompted, uncheck
ng deploy -- hostingwith the space bar. Select the following features with the arrow keys and space bar:AuthenticationFirestoreCloud MessagingCloud Storage
- Press
enterand follow the remaining prompts. - Create a commit with commit message "Install AngularFire" and push it to your GitHub repository.
6. Create an App Hosting backend
In this section, you'll set up an App Hosting backend to watch a branch on your git repository.
By the end of this section, you'll have an App Hosting backend connected to your repository in GitHub that will automatically re-build and rollout a new version of your app whenever you push a new commit to your main branch.
- Navigate to the App Hosting page in the Firebase console:

- Click "Get started" to start the backend creation flow. Configure your backend as follows:
- Follow the prompts in the first step to connect the GitHub repository you created earlier.
- Set deployment settings:
- Keep the root directory as
/ - Set the live branch to
main - Enable automatic rollouts
- Keep the root directory as
- Name your backend
friendlychat-codelab. - In "Create or associate a Firebase web app", pick the web app you configured earlier from the "Select an existing Firebase web app" drop down.
- Click "Finish and deploy". After a moment, you'll be taken to a new page where you can see the status of your new App Hosting backend!
- Once your rollout completes, click your free domain under "domains". This may take a few minutes to begin working due to DNS propagation.
You've deployed the initial web app! Every time you push a new commit to the main branch of your GitHub repository, you'll see a new build and rollout begin in the Firebase console, and your site will automatically update once the rollout completes.

You should see your FriendlyChat app's sign-in screen, which is not (yet!) functioning.
The app cannot do anything right now, but with your help, it will soon!
Let's now build a real-time chat app.
7. Import and configure Firebase
Configure Firebase
You'll need to configure the Firebase SDK to tell it which Firebase project you're using.
- Go to your Project settings in the Firebase console
- In the "Your apps" card, select the nickname of the app for which you need a config object.
- Select "Config" from the Firebase SDK snippet pane.
You will find that an environment file /angularfire-start/src/environments/environment.ts was generated for you.
- Copy the config object snippet, then add it to
angularfire-start/src/firebase-config.js.
environment.ts
export const environment = {
  firebase: {
    apiKey: "API_KEY",
    authDomain: "PROJECT_ID.firebaseapp.com",
    projectId: "PROJECT_ID",
    storageBucket: "PROJECT_ID.firebasestorage.app",
    messagingSenderId: "SENDER_ID",
    appId: "APP_ID",
  },
};
View AngularFire setup
You will find that the features you've selected in the console were automatically added in the /angularfire-start/src/app/app.config.ts file. This allows your app to use Firebase features and functionalities.
8. Set up user sign-in
AngularFire should now be ready to use since it's imported and initialized in app.config.ts. You're now going to implement user sign-in using Firebase Authentication.
Add an authorized domain
Firebase Authentication only allows sign-ins from a set list of domains that you control. Add your free App Hosting domain to the list of domains:
- Navigate to App Hosting.
- Copy your backend's domain.
- Navigate to Authentication settings.
- Choose the Authorized domains tab.
- Click Add domain and paste your App Hosting backend's domain.
Authenticate your users with Google Sign-In
In the app, when a user clicks the Sign in with Google button, the login function is triggered. For this codelab, you want to authorize Firebase to use Google as the identity provider. You'll use a popup, but several other methods are available from Firebase.
- In the subdirectory
/src/app/services/, openchat.service.ts. - Find the function
login. - Replace the entire function with the following code.
chat.service.ts
// Signs-in Friendly Chat.
login() {
    signInWithPopup(this.auth, this.provider).then((result) => {
        const credential = GoogleAuthProvider.credentialFromResult(result);
        this.router.navigate(['/', 'chat']);
        return credential;
    })
}
The logout function is triggered when the user clicks the Log out button.
- Go back to the file
src/app/services/chat.service.ts. - Find the function
logout. - Replace the entire function with the following code.
chat.service.ts
// Logout of Friendly Chat.
logout() {
    signOut(this.auth).then(() => {
        this.router.navigate(['/', 'login'])
        console.log('signed out');
    }).catch((error) => {
        console.log('sign out error: ' + error);
    })
}
Track the authentication state
To update our UI accordingly, you need a way to check if the user is logged in or logged out. AngularFire provides a function to get an observable that updates each time the authentication state changes. This has already been implemented, but is worth taking a look at.
- Go back to the file
src/app/services/chat.service.ts. - Find the variable assignment
user$.
chat.service.ts
// observable that is updated when the auth state changes
user$ = user(this.auth);
The code above calls the AngularFire function user which returns an observable user. It will trigger each time the authentication state changes (when the user signs in or signs out). The Angular templates components in FriendlyChat use this observable to update the UI to redirect, display the user in the header nav, and so on.
Test logging into the app
- Create a commit with commit message "Adding Google Authentication" and push it to your GitHub repository.
- Open the App Hosting page in the Firebase console and wait for your new rollout to complete.
- In the web app, refresh the page and log in to the app using the sign-in button and your Google account. If you see an error message stating
auth/operation-not-allowed, check to make sure that you enabled Google Sign-in as an authentication provider in the Firebase console. - After logging in, your profile picture and user name should be displayed:

9. Write messages to Cloud Firestore
In this section, you'll write some data to Cloud Firestore so that you can populate the app's UI. This can be done manually with the Firebase console, but you'll do it in the app itself to demonstrate a basic Cloud Firestore write.
Data model
Cloud Firestore data is split into collections, documents, fields, and subcollections. You will store each message of the chat as a document in a top-level collection called messages.

Add messages to Cloud Firestore
To store the chat messages that are written by users, you'll use Cloud Firestore.
In this section, you'll add the functionality for users to write new messages to your database. A user clicking the SEND button will trigger the code snippet below. It adds a message object with the contents of the message fields to your Cloud Firestore instance in the messages collection. The add() method adds a new document with an automatically generated ID to the collection.
- Go back to the file
src/app/services/chat.service.ts. - Find the function
addMessage. - Replace the entire function with the following code.
chat.service.ts
// Adds a text or image message to Cloud Firestore.
addMessage = async (
  textMessage: string | null,
  imageUrl: string | null,
): Promise<void | DocumentReference<DocumentData>> => {
  // ignore empty messages
  if (!textMessage && !imageUrl) {
    console.log(
      "addMessage was called without a message",
      textMessage,
      imageUrl,
    );
    return;
  }

  if (this.currentUser === null) {
    console.log("addMessage requires a signed-in user");
    return;
  }

  const message: ChatMessage = {
    name: this.currentUser.displayName,
    profilePicUrl: this.currentUser.photoURL,
    timestamp: serverTimestamp(),
    uid: this.currentUser?.uid,
  };

  textMessage && (message.text = textMessage);
  imageUrl && (message.imageUrl = imageUrl);

  try {
    const newMessageRef = await addDoc(
      collection(this.firestore, "messages"),
      message,
    );
    return newMessageRef;
  } catch (error) {
    console.error("Error writing new message to Firebase Database", error);
    return;
  }
};
Test sending messages
- Create a commit with commit message "Post new chats to Firestore" and push it to your GitHub repository.
- Open the App Hosting page in the Firebase console and wait for your new rollout to complete.
- Refresh FriendlyChat. After logging in, enter a message such as "Hey there!", and then click SEND. This will write the message into Cloud Firestore. However, you won't yet see the data in your actual web app because you still need to implement retrieving the data (the next section of the codelab).
- You can see the newly added message in your Firebase Console. Open your Emulator suite UI. Under the Build section click Firestore Database (or click here and you should see the messages collection with your newly added message:

10. Read messages
Synchronize messages
To read messages in the app, you'll need to add an observable that will trigger when data changes and then create a UI element that shows new messages.
You'll add code that listens for newly added messages from the app. In this code, you'll retrieve the snapshot of the messages collection. You'll only display the last 12 messages of the chat to avoid displaying a very long history upon loading.
- Go back to the file
src/app/services/chat.service.ts. - Find the function
loadMessages. - Replace the entire function with the following code.
chat.service.ts
// Loads chat message history and listens for upcoming ones.
loadMessages = () => {
  // Create the query to load the last 12 messages and listen for new ones.
  const recentMessagesQuery = query(collection(this.firestore, 'messages'), orderBy('timestamp', 'desc'), limit(12));
  // Start listening to the query.
  return collectionData(recentMessagesQuery);
}
To listen to messages in the database, you create a query on a collection by using the collection function to specify which collection the data that you want to listen to is in. In the code above, you're listening to the changes within the messages collection, which is where the chat messages are stored. You're also applying a limit by only listening to the last 12 messages using limit(12) and ordering the messages by date using orderBy('timestamp', 'desc') to get the 12 newest messages.
The collectionData function uses snapshots under the hood. The callback function will be triggered when there are any changes to documents that match the query. This could be if a message gets deleted, modified, or added. You can read more about this in the Cloud Firestore documentation.
Test synchronizing messages
- Create a commit with commit message "Show new chats in the UI" and push it to your GitHub repository.
- Open the App Hosting page in the Firebase console and wait for your new rollout to complete.
- Refresh FriendlyChat. The messages that you created earlier in the database should be displayed in the FriendlyChat UI (see below). Feel free to write new messages; they should appear instantly.
- (Optional) You can try manually deleting, modifying, or adding new messages directly in the Firestore section of the Emulator suite; any changes should be reflected in the UI.
Congratulations! You are reading Cloud Firestore documents in your app!
11. Add AI features
You'll use Google AI to add useful assistive features to the chat app.
Get a Google AI API key
- Navigate to Google AI Studio and click Create API key
- Select the Firebase project you created for this codelab. The prompt is for a Google Cloud project, but every Firebase project is a Google Cloud project.
- Click Create API key in existing project
- Copy the resulting API key
Install an extension
This extension will deploy a cloud function that gets triggered every time a new document is added to the messages collection in Firestore. The function will call Gemini, and write its response back to the response field in the document.
- Click Install in Firebase console on the Build Chatbot with the Gemini API extension page.
- Follow the prompts. Once you get to the Configure extension step, set the following parameter values:
- Gemini API Provider:
Google AI - Google AI API Key: Paste the key you created earlier and click Create secret.
- Firestore collection path:
messages - Prompt field:
text - Response field:
response - Order field:
timestamp - Context:
Keep your answers short, informal, and helpful. Use emojis when possible.
- Gemini API Provider:
- Click install extension
- Wait for the extension to finish installing
Test AI feature
FriendlyChat already has code to read responses from the AI extension. All you need to do is send a new chat message to test it out!
- Open FriendlyChat and send a message.
- After a moment, you should see a response pop up alongside your message. It has an
✨ ai generatednote at the end to make it clear that it was created with generative AI, not a real user.
12. Send images
You'll now add a feature that shares images.
While Cloud Firestore is good for storing structured data, Cloud Storage is better suited for storing files. Cloud Storage for Firebase is a file/blob storage service, and you'll use it to store any images that a user shares using our app.
Save images to Cloud Storage
For this codelab, you've already added for you a button that triggers a file picker dialog. After selecting a file, the saveImageMessage function is called, and you can get a reference to the selected file. The saveImageMessage function accomplishes the following:
- Creates a "placeholder" chat message in the chat feed, so that users see a "Loading" animation while you upload the image.
- Uploads the image file to Cloud Storage to this path:
/<uid>/<file_name> - Generates a publicly readable URL for the image file.
- Updates the chat message with the newly uploaded image file's URL in lieu of the temporary loading image.
Now you'll add the functionality to send an image:
- Go back to the file
src/chat.service.ts. - Find the function
saveImageMessage. - Replace the entire function with the following code.
chat.service.ts
// Saves a new message containing an image in Firestore.
// This first saves the image in Firebase storage.
saveImageMessage = async(file: any) => {
  try {
    // 1 - Add a message with a loading icon that will get updated with the shared image.
    const messageRef = await this.addMessage(null, this.LOADING_IMAGE_URL);

    // 2 - Upload the image to Cloud Storage.
    const filePath = `${this.auth.currentUser?.uid}/${file.name}`;
    const newImageRef = ref(this.storage, filePath);
    const fileSnapshot = await uploadBytesResumable(newImageRef, file);

    // 3 - Generate a public URL for the file.
    const publicImageUrl = await getDownloadURL(newImageRef);

    // 4 - Update the chat message placeholder with the image's URL.
    messageRef ?
    await updateDoc(messageRef, {
      imageUrl: publicImageUrl,
      storageUri: fileSnapshot.metadata.fullPath
    }): null;
  } catch (error) {
    console.error('There was an error uploading a file to Cloud Storage:', error);
  }
}
Test sending images
- Create a commit with commit message "Add the ability to post images" and push it to your GitHub repository.
- Open the App Hosting page in the Firebase console and wait for your new rollout to complete.
- Refresh FriendlyChat. After logging in, click the image upload button on the bottom left
 and select an image file using the file picker. If you're looking for an image, feel free to use this nice picture of a coffee cup.
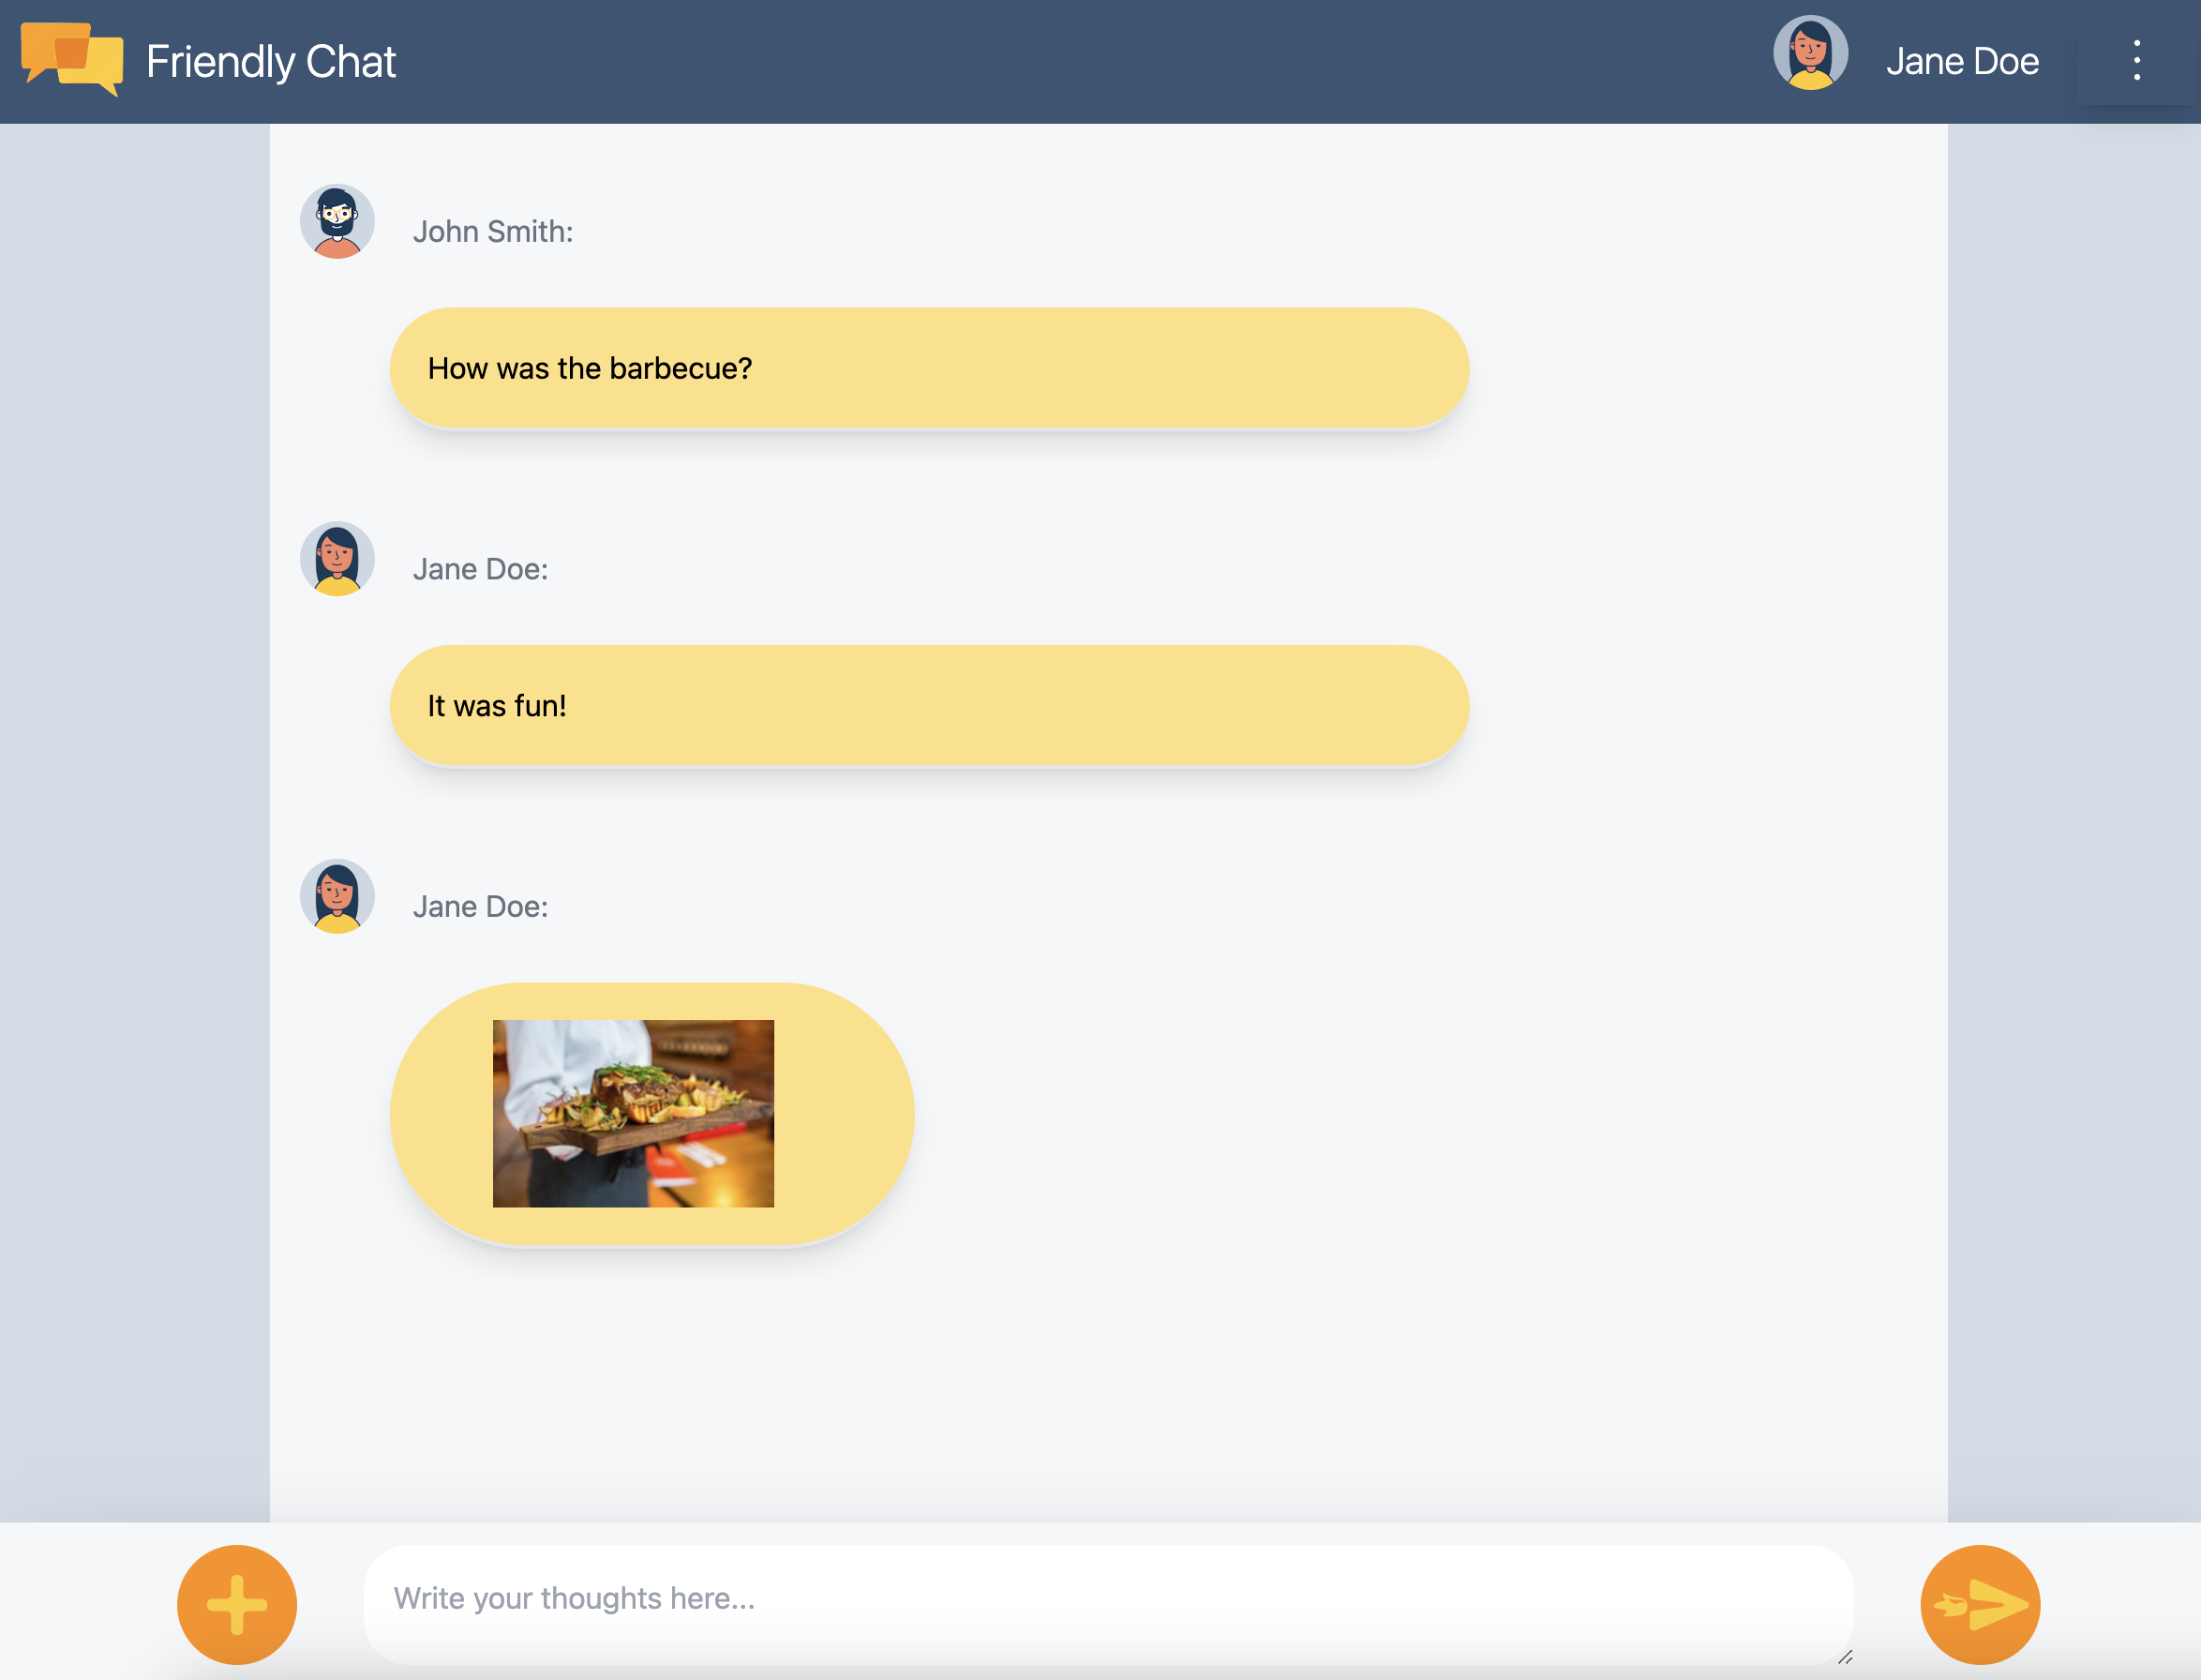
 - A new message should appear in the app's UI with your selected image:
If you try adding an image while not signed in, you should see an error telling you that you must sign in to add images.
13. Show notifications
You'll now add support for browser notifications. The app will notify users when new messages are posted in the chat. Firebase Cloud Messaging (FCM) is a cross-platform messaging solution that lets you reliably deliver messages and notifications.
Add the FCM service worker
The web app needs a service worker that will receive and display web notifications.
The messaging provider should have already been set up when AngularFire was added, make sure that the following code exists in the imports section of /angularfire-start/src/app/app.config.ts
provideMessaging(() => {
    return getMessaging();
}),
app/app.config.ts
The service worker simply needs to load and initialize the Firebase Cloud Messaging SDK, which will take care of displaying notifications.
Get FCM device tokens
When notifications have been enabled on a device or browser, you'll be given a device token. This device token is what you use to send a notification to a particular device or particular browser.
When the user signs in, you call the saveMessagingDeviceToken function. That's where you'll get the FCM device token from the browser and save it to Cloud Firestore.
chat.service.ts
- Find the function
saveMessagingDeviceToken. - Replace the entire function with the following code.
chat.service.ts
// Saves the messaging device token to Cloud Firestore.
saveMessagingDeviceToken= async () => {
    try {
      const currentToken = await getToken(this.messaging);
      if (currentToken) {
        console.log('Got FCM device token:', currentToken);
        // Saving the Device Token to Cloud Firestore.
        const tokenRef = doc(this.firestore, 'fcmTokens', currentToken);
        await setDoc(tokenRef, { uid: this.auth.currentUser?.uid });

        // This will fire when a message is received while the app is in the foreground.
        // When the app is in the background, firebase-messaging-sw.js will receive the message instead.
        onMessage(this.messaging, (message) => {
          console.log(
            'New foreground notification from Firebase Messaging!',
            message.notification
          );
        });
      } else {
        // Need to request permissions to show notifications.
        this.requestNotificationsPermissions();
      }
    } catch(error) {
      console.error('Unable to get messaging token.', error);
    };
}
However, this code won't work initially. For your app to be able to retrieve the device token, the user needs to grant your app permission to show notifications (the next step of the codelab).
Request permissions to show notifications
When the user has not yet granted your app permission to show notifications, you won't be given a device token. In this case, you call the requestPermission() method, which will display a browser dialog asking for this permission ( in supported browsers).

- Go back to the file
src/app/services/chat.service.ts. - Find the function
requestNotificationsPermissions. - Replace the entire function with the following code.
chat.service.ts
// Requests permissions to show notifications.
requestNotificationsPermissions = async () => {
    console.log('Requesting notifications permission...');
    const permission = await Notification.requestPermission();

    if (permission === 'granted') {
      console.log('Notification permission granted.');
      // Notification permission granted.
      await this.saveMessagingDeviceToken();
    } else {
      console.log('Unable to get permission to notify.');
    }
}
Get your device token
- Create a commit with commit message "Add the ability to post images" and push it to your GitHub repository.
- Open the App Hosting page in the Firebase console and wait for your new rollout to complete.
- Refresh FriendlyChat. After logging in, the notifications permission dialog should appear:

- Click Allow.
- Open the JavaScript console of your browser. You should see the following message:
Got FCM device token: cWL6w:APA91bHP...4jDPL_A-wPP06GJp1OuekTaTZI5K2Tu - Copy your device token. You'll need it for the next stage of the codelab.
Send a notification to your device
Now that you have your device token, you can send a notification.
- Open the Cloud Messaging tab of the Firebase console.
- Click "New Notification"
- Enter a notification title and notification text.
- On the right side of the screen, click "send a test message"
- Enter the device token you copied from the JavaScript console of your browser, then click the plus ("+") sign
- Click "test"
If your app is in the foreground, you'll see the notification in the JavaScript console.
If your app is in the background, a notification should appear in your browser, as in this example:

14. Cloud Firestore security rules
View database security rules
Cloud Firestore uses a specific rules language to define access rights, security, and data validations.
When setting up the Firebase project at the beginning of this codelab, you chose to use "Test mode" default security rules so that you didn't restrict access to the datastore. In the Firebase console, in the Database section's Rules tab, you can view and modify these rules.
Right now, you should see the default rules, which do not restrict access to the datastore. This means that any user can read and write to any collections in your datastore.
You'll update the rules to restrict things by using the following rules:
firestore.rules
rules_version = '2';

service cloud.firestore {
  match /databases/{database}/documents {
    // Messages:
    //   - Anyone can read.
    //   - Authenticated users can add and edit messages.
    //   - Validation: Check name is same as auth token and text length below 300 char or that imageUrl is a URL.
    //   - Deletes are not allowed.
    match /messages/{messageId} {
      allow read;
      allow create, update: if request.auth != null
                    && request.resource.data.name == request.auth.token.name
                    && (request.resource.data.text is string
                      && request.resource.data.text.size() <= 300
                      || request.resource.data.imageUrl is string
                      && request.resource.data.imageUrl.matches('https?://.*'));
      allow delete: if false;
    }
    // FCM Tokens:
    //   - Anyone can write their token.
    //   - Reading list of tokens is not allowed.
    match /fcmTokens/{token} {
      allow read: if false;
      allow write;
    }
  }
}
The security rules should update automatically to your Emulator suite.
View Cloud Storage security rules
Cloud Storage for Firebase uses a specific rules language to define access rights, security, and data validations.
When setting up the Firebase project at the beginning of this codelab, you chose to use the default Cloud Storage security rule that only allows authenticated users to use Cloud Storage. In the Firebase console, in the Storage section's Rules tab, you can view and modify rules. You should see the default rule which allows any signed-in user to read and write any files in your storage bucket.
You'll update the rules to do the following:
- Allow each user to write only to their own specific folders
- Allow anyone to read from Cloud Storage
- Make sure that the files uploaded are images
- Restrict the size of the images that can be uploaded to maximum 5 MB
This can be implemented using the following rules:
storage.rules
rules_version = '2';

// Returns true if the uploaded file is an image and its size is below the given number of MB.
function isImageBelowMaxSize(maxSizeMB) {
  return request.resource.size < maxSizeMB * 1024 * 1024
      && request.resource.contentType.matches('image/.*');
}

service firebase.storage {
  match /b/{bucket}/o {
    match /{userId}/{messageId}/{fileName} {
      allow write: if request.auth != null && request.auth.uid == userId && isImageBelowMaxSize(5);
      allow read;
    }
  }
}
15. Congratulations!
You've used Firebase to build a real-time chat web application!
What you've covered
- Firebase App Hosting
- Firebase Authentication
- Cloud Firestore
- Firebase SDK for Cloud Storage
- Firebase Cloud Messaging
- Firebase Performance Monitoring
Next steps
Learn more
16. [Optional] Enforce with App Check
Firebase App Check helps secure your services from unwanted traffic and helps protect your backend from abuse. In this step, you'll add credentials validation and block unauthorized clients with App Check and reCAPTCHA Enterprise.
First, you'll need to enable App Check and reCaptcha.
Enabling reCaptcha Enterprise
- In the Cloud console, find and select reCaptcha Enterprise under Security.
- Enable the service as prompted, and click Create Key.
- Input a display name as prompted, and select Website as your platform type.
- Add your deployed URLs to the Domain list, and make sure that the "Use checkbox challenge" option is unselected.
- Click Create Key, and store the generated key somewhere for safekeeping. You will need it later in this step.
Enabling App Check
- In the Firebase console, locate the Build section in the left panel.
- Click App Check, then click the Sign-in method tab to navigate to App Check.
- Click Register and enter your reCaptcha Enterprise key when prompted, then click Save.
- In the APIs View, select Storage and click Enforce. Do the same for Cloud Firestore.
App Check should now be enforced! Refresh your app and try to view or send chat messages. You should get the error message:
Uncaught Error in snapshot listener: FirebaseError: [code=permission-denied]: Missing or insufficient permissions.
This means App Check is blocking unvalidated requests by default. Now let's add validation to your app.
Navigate to your environment.ts file and add reCAPTCHAEnterpriseKey to the environment object.
export const environment = {
  firebase: {
    apiKey: 'API_KEY',
    authDomain: 'PROJECT_ID.firebaseapp.com',
    databaseURL: 'https://PROJECT_ID.firebaseio.com',
    projectId: 'PROJECT_ID',
    storageBucket: 'PROJECT_ID.firebasestorage.app',
    messagingSenderId: 'SENDER_ID',
    appId: 'APP_ID',
    measurementId: 'G-MEASUREMENT_ID',
  },
  reCAPTCHAEnterpriseKey: {
    key: "Replace with your recaptcha enterprise site key"
  },
};
Replace the value of key with your reCaptcha Enterprise token.
Then, navigate to app.config.ts file and add the following imports:
import { getApp } from '@angular/fire/app';
import {
  ReCaptchaEnterpriseProvider,
  initializeAppCheck,
  provideAppCheck,
} from '@angular/fire/app-check';
In the same app.config.ts file, add the following global variable declaration:
declare global {
  var FIREBASE_APPCHECK_DEBUG_TOKEN: boolean;
}

@NgModule({ ...
In imports, add initialization of App Check with ReCaptchaEnterpriseProvider, and set isTokenAutoRefreshEnabled to true to allow tokens to auto-refresh.
imports: [
BrowserModule,
AppRoutingModule,
CommonModule,
FormsModule,
provideFirebaseApp(() => initializeApp(environment.firebase)),
provideAppCheck(() => {
const appCheck = initializeAppCheck(getApp(), {
  provider: new ReCaptchaEnterpriseProvider(
  environment.reCAPTCHAEnterpriseKey.key
  ),
  isTokenAutoRefreshEnabled: true,
  });
  if (location.hostname === 'localhost') {
    self.FIREBASE_APPCHECK_DEBUG_TOKEN = true;
  }
  return appCheck;
}),
To allow local testing, set self.FIREBASE_APPCHECK_DEBUG_TOKEN to true. When you refresh your app in localhost, this will log a debug token in the console similar to:
App Check debug token: CEFC0C76-7891-494B-B764-349BDFD00D00. You will need to add it to your app's App Check settings in the Firebase console for it to work.
Now, go to the Apps View of App Check in the Firebase console.
Click the overflow menu, and select Manage debug tokens.
Then, click Add debug token and paste the debug token from your console as prompted.
Navigate to the chat.service.ts file, and add the following import:
import { AppCheck } from '@angular/fire/app-check';
In the same chat.service.ts file, inject App Check alongside the other Firebase services.
export class ChatService {
appCheck: AppCheck = inject(AppCheck);
...
- Create a commit with commit message "Block unauthorized clients with App Check" and push it to your GitHub repository.
- Open the App Hosting page in the Firebase console and wait for your new rollout to complete.
Congratulations! App Check should now be working in your app.