
1. Overview
Firebase Phone Number Verification (Firebase PNV or FPNV) is a faster and more secure method for verifying phone numbers. Unlike SMS-based verification, which requires end users to receive and input a code from a text message, Firebase PNV works by getting the phone number assigned to the SIM in the device directly from the connected carrier with a single tap. This reduces friction for the end user, improves reliability by not depending on SMS message delivery, and eliminates abuse vectors commonly exploited when using SMS.
In this codelab, you'll learn how to build a "Restaurant Finder" AI voice agent that uses Firebase Phone Number Verification to verify the end user's phone number before confirming a table reservation.
Prerequisites
- Latest version of Android Studio
- Android device or emulator with API Level 26 or higher
What you'll learn
- Set up a Firebase project with Firebase PNV.
- Use Firebase PNV in Test Mode to prototype without a billing account or real SIM.
- Integrate the Firebase PNV SDK into an Android app.
- Verify a phone number using the single-call API.
- (Optionally) Prepare your app for production.
2. Set up the sample project
Create a Firebase project
- Sign into the Firebase console using your Google Account.
- Click the button to create a new project, and then enter a project name (for example,
Tera Bites).
- Click Continue.
- If prompted, review and accept the Firebase terms, and then click Continue.
- (Optional) Enable AI assistance in the Firebase console (called "Gemini in Firebase").
- For this codelab, you do not need Google Analytics, so toggle off the Google Analytics option.
- Click Create project, wait for your project to provision, and then click Continue.
Download the code
Run the following commands to clone the sample code for this codelab:
git clone https://github.com/GoogleCloudPlatform/devrel-demos
cd codelabs/firebase-pnv-android
Open the firebase-pnv-android directory in Android Studio.
Connect your Android project to Firebase
- In the Firebase console, in the center of the project overview page, click the Android icon or Add app to launch the app creation workflow.
- In the Android package name field, enter the app's package name:
com.google.firebase.example.fpnv. - Click Register app.
- Follow the instructions to download the
google-services.jsonfile, and move it into theapp/directory of the code you just downloaded. - Click Next.
Enable Firebase AI Logic
This codelab uses Firebase AI Logic to power the AI voice agent. To enable Firebase AI Logic in your Firebase project:
- In the Firebase console, go to AI Services > AI Logic.
- Click Get started.
- Choose to use the Gemini Developer API by clicking Get started with this API.
- Click Enable API and confirm.
3. Set up Firebase PNV in test mode
Test mode lets you verify a "fake" phone number using a test token for development.
Join the Google system services public beta program
Enroll your development device into the Google system services beta channel to use test mode:
- Browse to the Android App Testing - Google system services page.
- Click Become a tester.
You're now a beta tester for Google system services.
Add the Firebase PNV dependency
In your Android project's codebase, the dependencies for the Firebase PNV and Firebase AI Logic libraries are already defined in the
[versions]
# ... other dependencies
firebaseBom = "34.13.0"

[libraries]
# ... other libraries
firebase-bom = { module = "com.google.firebase:firebase-bom", version.ref = "firebaseBom" }
firebase-ai-logic = { module = "com.google.firebase:firebase-ai" }
firebase-pnv = { module = "com.google.firebase:firebase-pnv" }
In your module (app-level) Gradle file (usually
dependencies {
  // ... other dependencies
  implementation(platform(libs.firebase.bom))
  implementation(libs.firebase.ai.logic)

  // Add this line
  implementation(libs.firebase.pnv)

  // ...
}
Generate a test token
- In the Firebase console, go to Security > Phone Verification.
- Select the Testing tab.
- Select the country code for your testing phone number and click Generate token.
- Copy the generated token string.
Enable the test session in your code
- Back in your Android project, open the
ChatViewModel.ktfile, and find theverifyPhoneNumber()function. - Initialize the
FirebasePhoneNumberVerificationclient and enable the test session, pasting the token that you copied from the Firebase console:suspend fun verifyPhoneNumber(): String { // Initialize Firebase Phone Number Verification val fpnv = FirebasePhoneNumberVerification.getInstance() // Enable Test session fpnv.enableTestSession("PASTE_THE_TOKEN_YOU_COPIED_IN_PREV_STEP") // Trigger the Firebase PNV pop up val response = fpnv.getVerifiedPhoneNumber(context!!).await() val phoneNumber = response.getPhoneNumber() return phoneNumber }
4. Run the app
Now that you've implemented Firebase PNV, it's time to run the app.
- In Android Studio, click Run to launch the app in the Android emulator or on a physical device.
- Once the app launches, you should see a screen that looks like this:
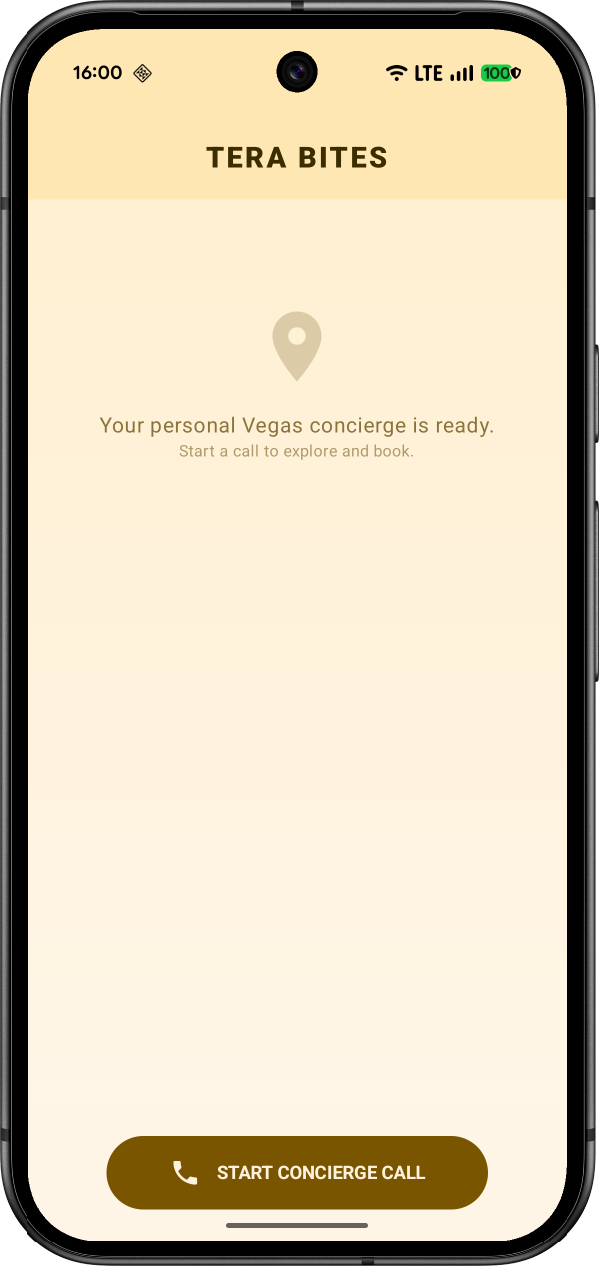
- Click Start call, and introduce yourself.
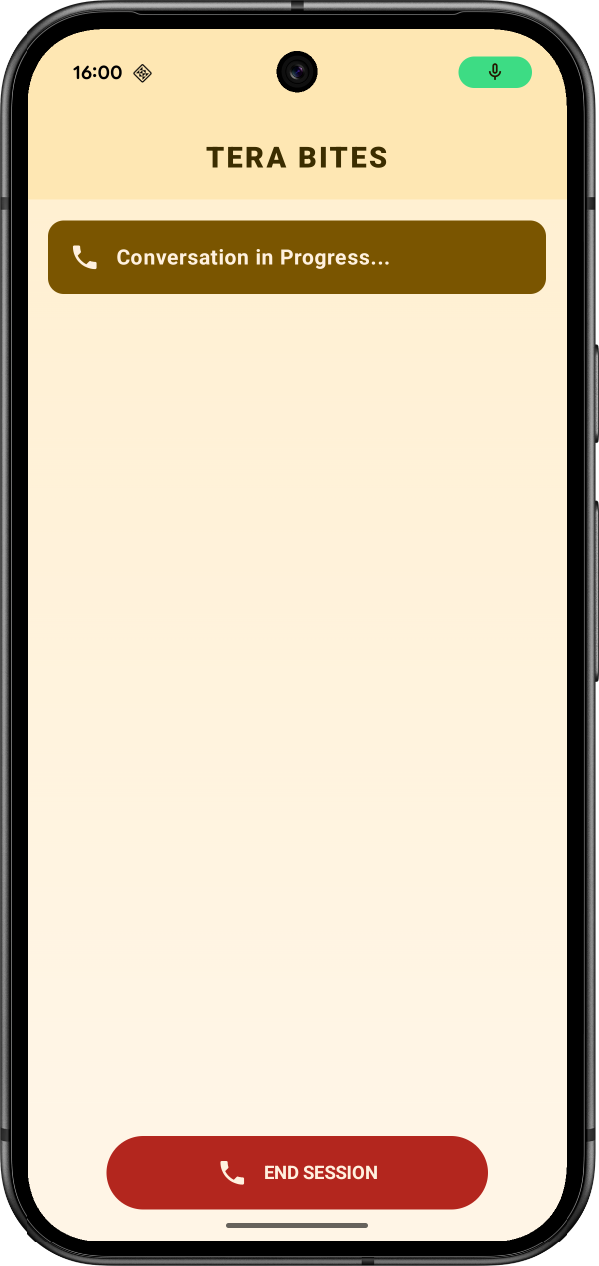
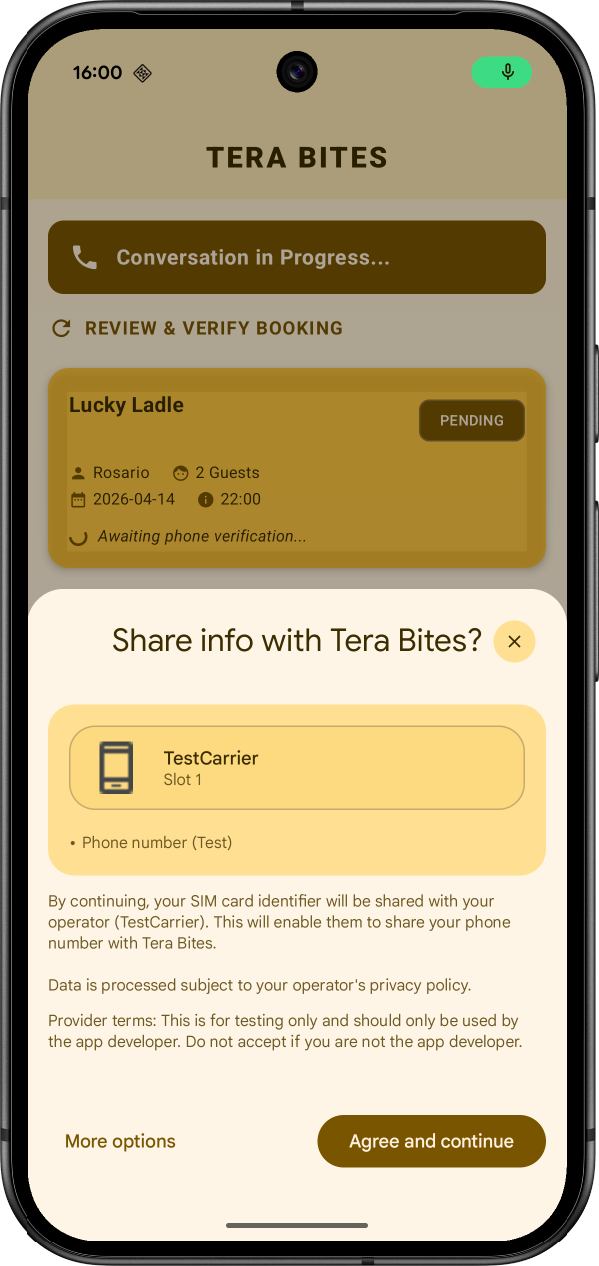
- The AI voice agent should prompt you for reservation details. Once you provide details, it should prompt you to look at your screen to verify your phone number:
- Once that's done, you'll see a verification complete screen:
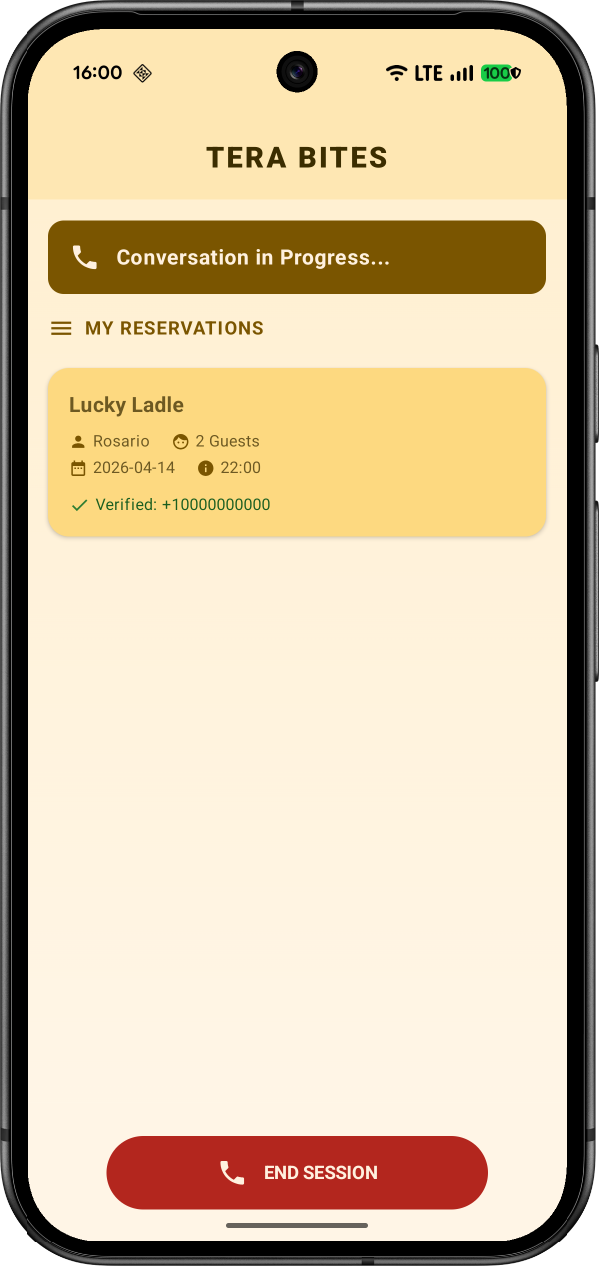
- Click End session to terminate the call.
5. (Optional) Upgrade to production mode
Upgrade your Firebase pricing plan
To use Firebase PNV in production mode, your Firebase project needs to be on the pay-as-you go (Blaze) pricing plan, which means it's linked to a Cloud Billing account.
- A Cloud Billing account requires a payment method, like a credit card.
- During special promotions or if you're doing this codelab as part of an event, there may be Google Cloud credits available.
- If you're new to Firebase and Google Cloud, check if you're eligible for a $300 credit and a Free Trial Cloud Billing account.
To upgrade your project to the Blaze plan, follow these steps:
- In the Firebase console, select to upgrade your plan.
- Select the Blaze plan. Follow the on-screen instructions to link a Cloud Billing account to your project.
- If you're using Google Cloud credits for this codelab, the billing account is likely called
Google Cloud Platform Trial Billing AccountorMy Billing Account. - If you needed to create a Cloud Billing account as part of this upgrade, you might need to navigate back to the upgrade flow in the Firebase console to complete the upgrade.
- If you're using Google Cloud credits for this codelab, the billing account is likely called
Enable Firebase PNV production mode
- Add your app's SHA-256 fingerprint:
- In the Firebase console, go to the Settings > General page.
- Scroll down to the Your apps card, and find your Android app.
- Into the SHA certificate fingerprints field, add your SHA-256 fingerprint. Refer to Authenticating Your Client for details on how to get your app's SHA-256 fingerprint.
- Return to Security > Phone Verification.
- Click Set up production. You will see a list of the apps in your project that will be enabled for production, and have the opportunity to add additional apps.
- Submit your app for OAuth brand verification and a privacy policy review. Google Cloud will verify that you are clearly and accurately identifying your app and its privacy policy.
To begin the review, click Proceed in Google Cloud. This process can sometimes take 24 hours or more. - While you're waiting for brand verification, review the Firebase PNV service specific terms, which are linked to in the console.
- After your app has passed brand verification, check the box to acknowledge the service specific terms, and then click Enable.
Firebase PNV is now active in production mode.
Remove test code
In your Android project, delete the line fpnv.enableTestSession(...).
Migrate Firebase AI Logic to use Vertex AI
If you're using credits in your billing account, you won't be able to use them with the Gemini Developer API. But you can use them with the Vertex AI Gemini API.
- In the Firebase console, go to AI Services > AI Logic.
- Click Settings.
- Under Vertex AI Gemini API, click Enable.
- In your Android project, change the Firebase AI Logic initialization to use the Vertex AI backend instead of Google AI:
val model = Firebase.ai(
    backend = GenerativeBackend.vertexAI(location = "us-central1")
).liveModel(
    modelName = "gemini-live-2.5-flash-native-audio",
    // ... other configuration
)
6. Congratulations!
You've successfully integrated Firebase Phone Number Verification into an Android app!
What we've covered
- Setting up a project for Firebase PNV.
- Using test mode for prototyping.
- Implementing the Firebase PNV single-call API.
- Upgrading to production mode.
Next steps
- Learn how to customize the Firebase PNV flow.
- Learn how to verify Firebase PNV tokens.
- Check the pricing and quotas.