
Firebase Genkit
Genkit एक फ़्रेमवर्क है. इसका मकसद, एआई की मदद से काम करने वाले ऐप्लिकेशन और सुविधाएं बनाने में आपकी मदद करना है. यह Node.js और Go के लिए ओपन सोर्स लाइब्रेरी उपलब्ध कराता है. साथ ही, टेस्टिंग और डीबग करने के लिए डेवलपर टूल भी उपलब्ध कराता है.
इस दस्तावेज़ में, Node.js के लिए Genkit के बारे में बताया गया है. अगर आप Go डेवलपर हैं, तो Genkit Go दस्तावेज़ देखें.
Genkit लाइब्रेरी को उन सभी जगहों पर डिप्लॉय और चलाया जा सकता है जहां Node.js काम करता है. इसे जनरेटिव एआई मॉडल के किसी भी एपीआई या वेक्टर डेटाबेस के साथ काम करने के लिए डिज़ाइन किया गया है. हम Firebase और Google Cloud के लिए इंटिग्रेशन की सुविधा देते हैं. हालांकि, Genkit का इस्तेमाल Google की किसी भी सेवा के बिना किया जा सकता है.
मुख्य सुविधाएं
| एआई जनरेशन के लिए यूनिफ़ाइड एपीआई | अलग-अलग एआई मॉडल से कॉन्टेंट जनरेट करने या स्ट्रीम करने के लिए, एक ही एपीआई का इस्तेमाल करें. यह मल्टीमोडल इनपुट/आउटपुट और कस्टम मॉडल सेटिंग के साथ काम करता है. |
| स्ट्रक्चर्ड आउटपुट | पहले से मौजूद पुष्टि करने की सुविधा की मदद से, स्ट्रक्चर्ड ऑब्जेक्ट (जैसे, JSON) जनरेट या स्ट्रीम करें. अपने ऐप्लिकेशन के साथ इंटिग्रेशन को आसान बनाएं और अनस्ट्रक्चर्ड डेटा को इस्तेमाल किए जा सकने वाले फ़ॉर्मैट में बदलें. |
| टूल कॉलिंग | टास्क पूरे करने के लिए, एआई मॉडल को टूल के तौर पर अपने फ़ंक्शन और एपीआई को कॉल करने की अनुमति दें. मॉडल यह तय करता है कि कब और किन टूल का इस्तेमाल करना है. |
| चैट | Genkit, चैट के लिए खास तौर पर बनाया गया एपीआई उपलब्ध कराता है. इसकी मदद से, एआई मॉडल के साथ कई चरणों में बातचीत की जा सकती है. यह बातचीत, स्टैटफ़ुल और पर्सिस्टेंट हो सकती है. |
| एजेंट | ऐसे स्मार्ट एजेंट बनाएं जो मुश्किल टास्क और वर्कफ़्लो को ऑटोमेट करने के लिए, टूल (इनमें दूसरे एजेंट भी शामिल हैं) का इस्तेमाल करते हैं. |
| डेटा वापस पाना | अपने डेटा को इंटिग्रेट करके, जनरेट किए गए आउटपुट को ज़्यादा सटीक और काम का बनाएं. आसानी से इस्तेमाल होने वाले एपीआई की मदद से, अलग-अलग सोर्स से जानकारी को एम्बेड, इंडेक्स, और वापस पाया जा सकता है. |
| प्रॉम्प्ट टेंप्लेट | असरदार प्रॉम्प्ट बनाएं. इनमें रिच टेक्स्ट टेंप्लेट, मॉडल सेटिंग, कई मोड में काम करने की सुविधा, और टूल इंटिग्रेशन शामिल हैं. ये सभी सुविधाएं, छोटी और चलने लायक प्रॉम्प्ट फ़ाइल में मिलती हैं. |
कोड में इन सुविधाओं का इस्तेमाल करने के तरीके के बारे में जानने के लिए, यहां दिए गए कोड सैंपल देखें:
बेसिक जनरेशन
import { genkit } from 'genkit';
import { googleAI, gemini15Flash } from '@genkit-ai/googleai';

const ai = genkit({
  plugins: [googleAI()],
  model: gemini15Flash,  // Set default model
});

// Simple generation
const { text } = await ai.generate('Why is AI awesome?');
console.log(text);

// Streamed generation
const { stream } = await ai.generateStream('Tell me a story');
for await (const chunk of stream) {
  console.log(chunk.text);
}
स्ट्रक्चर्ड आउटपुट
import { genkit, z } from 'genkit';
import { googleAI, gemini15Flash } from '@genkit-ai/googleai';

const ai = genkit({
  plugins: [googleAI()],
  model: gemini15Flash,
});

const { output } = await ai.generate({
  prompt: 'Create a brief profile for a character in a fantasy video game.',
  // Specify output structure using Zod schema
  output: {
    format: 'json',
    schema: z.object({
      name: z.string(),
      role: z.enum(['knight', 'mage', 'archer']),
      backstory: z.string(),
    }),
  },
});

console.log(output);
फ़ंक्शन कॉल करना
import { genkit, z } from 'genkit';
import { googleAI, gemini15Flash } from '@genkit-ai/googleai';

const ai = genkit({
  plugins: [googleAI()],
  model: gemini15Flash,
});

// Define tool to get current weather for a given location
const getWeather = ai.defineTool(
  {
    name: "getWeather",
    description: "Gets the current weather in a given location",
    inputSchema: z.object({
      location: z.string().describe('The location to get the current weather for')
    }),
    outputSchema: z.string(),
  },
  async (input) => {
    // Here, we would typically make an API call or database query. For this
    // example, we just return a fixed value.
    return `The current weather in ${input.location} is 63°F and sunny.`;
  }
);

const { text } = await ai.generate({
    tools: [getWeather], // Give the model a list of tools it can call
    prompt: 'What is the weather like in New York? ',
});

console.log(text);
चैट
import { genkit, z } from 'genkit';
import { googleAI, gemini15Flash } from '@genkit-ai/googleai';

const ai = genkit({
  plugins: [googleAI()],
  model: gemini15Flash,
});

const chat = ai.chat({ system: 'Talk like a pirate' });

let response = await chat.send('Hi, my name is Pavel');

response = await chat.send('What is my name?');
console.log(response.text);
// Ahoy there! Your name is Pavel, you scurvy dog
एजेंट
import { genkit, z } from 'genkit';
import { googleAI, gemini15Flash } from '@genkit-ai/googleai';

const ai = genkit({
  plugins: [googleAI()],
  model: gemini15Flash,
});

// Define prompts that represent specialist agents
const reservationAgent = ai.definePrompt(
  {
    name: 'reservationAgent',
    description: 'Reservation Agent can help manage guest reservations',
    tools: [reservationTool, reservationCancelationTool, reservationListTool],

  },
  `{{role "system"}} Help guests make and manage reservations`
);

const menuInfoAgent = ...
const complaintAgent = ...

// Define a triage agent that routes to the proper specialist agent
const triageAgent = ai.definePrompt(
  {
    name: 'triageAgent',
    description: 'Triage Agent',
    tools: [reservationAgent, menuInfoAgent, complaintAgent],
  },
  `{{role "system"}} You are an AI customer service agent for Pavel's Cafe.
  Greet the user and ask them how you can help. If appropriate, transfer to an
  agent that can better handle the request. If you cannot help the customer with
  the available tools, politely explain so.`
);

// Create a chat to enable multi-turn agent interactions
const chat = ai.chat(triageAgent);

chat.send('I want a reservation at Pavel\'s Cafe for noon on Tuesday.' );
डेटा वापस पाना
import { genkit } from 'genkit';
import { googleAI, gemini15Flash, textEmbedding004 } from '@genkit-ai/googleai';
import { devLocalRetrieverRef } from '@genkit-ai/dev-local-vectorstore';

const ai = genkit({
  plugins: [
    googleAI()
    devLocalVectorstore([
      {
        indexName: 'BobFacts',
        embedder: textEmbedding004,
      },
    ]),
  ],
  model: gemini15Flash,
});

// Reference to a local vector database storing Genkit documentation
const retriever = devLocalRetrieverRef('BobFacts');

// Consistent API to retrieve most relevant documents based on semantic similarity to query
const docs = await ai.retrieve(
  retriever: retriever,
  query: 'How old is bob?',
);

const result = await ai.generate({
    prompt: `Use the provided context from the Genkit documentation to answer this query: ${query}`,
    docs // Pass retrieved documents to the model
});
प्रॉम्प्ट टेंप्लेट
---
model: vertexai/gemini-1.5-flash
config:
  temperature: 0.9
input:
  schema:
    properties:
      location: {type: string}
      style: {type: string}
      name: {type: string}
    required: [location]
  default:
    location: a restaurant
---

You are the most welcoming AI assistant and are currently working at {{location}}.

Greet a guest{{#if name}} named {{name}}{{/if}}{{#if style}} in the style of {{style}}{{/if}}.
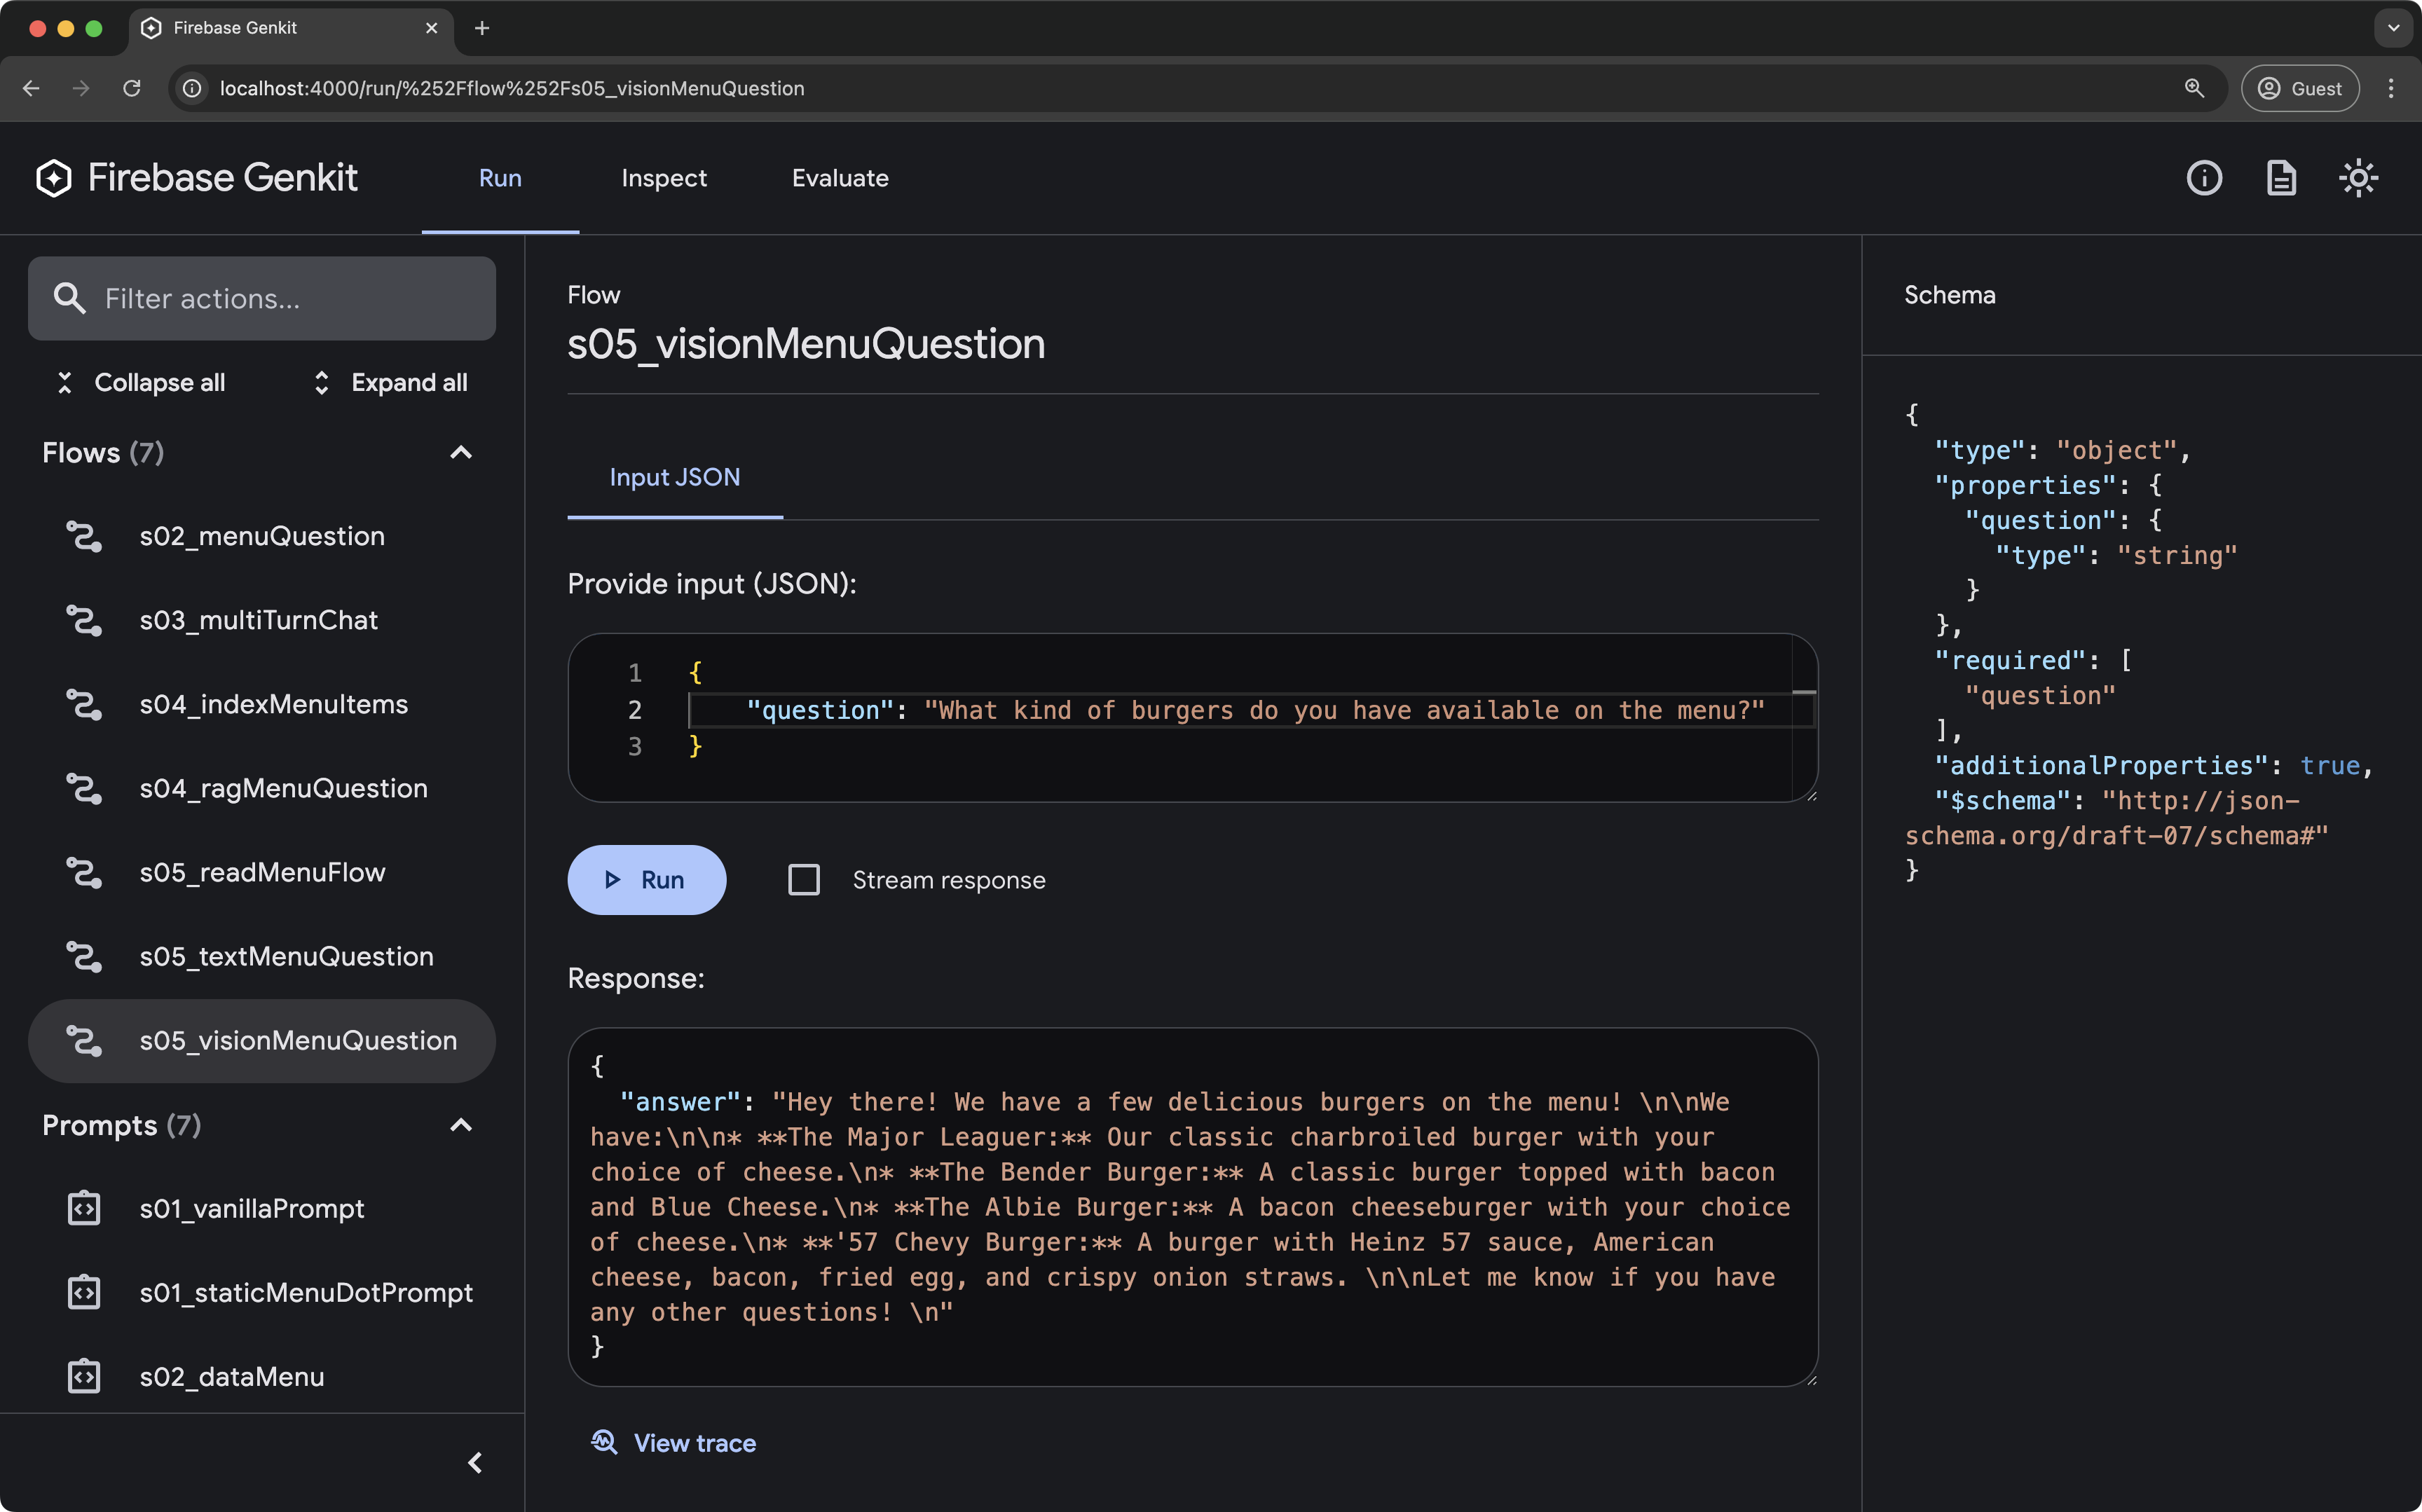
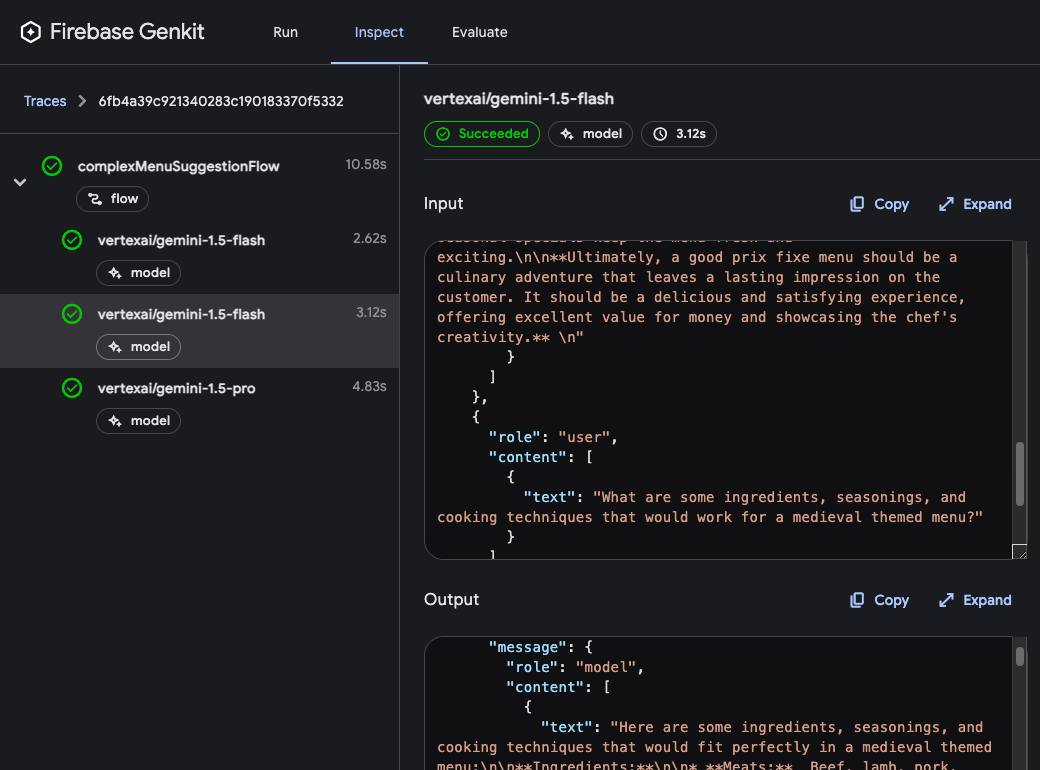
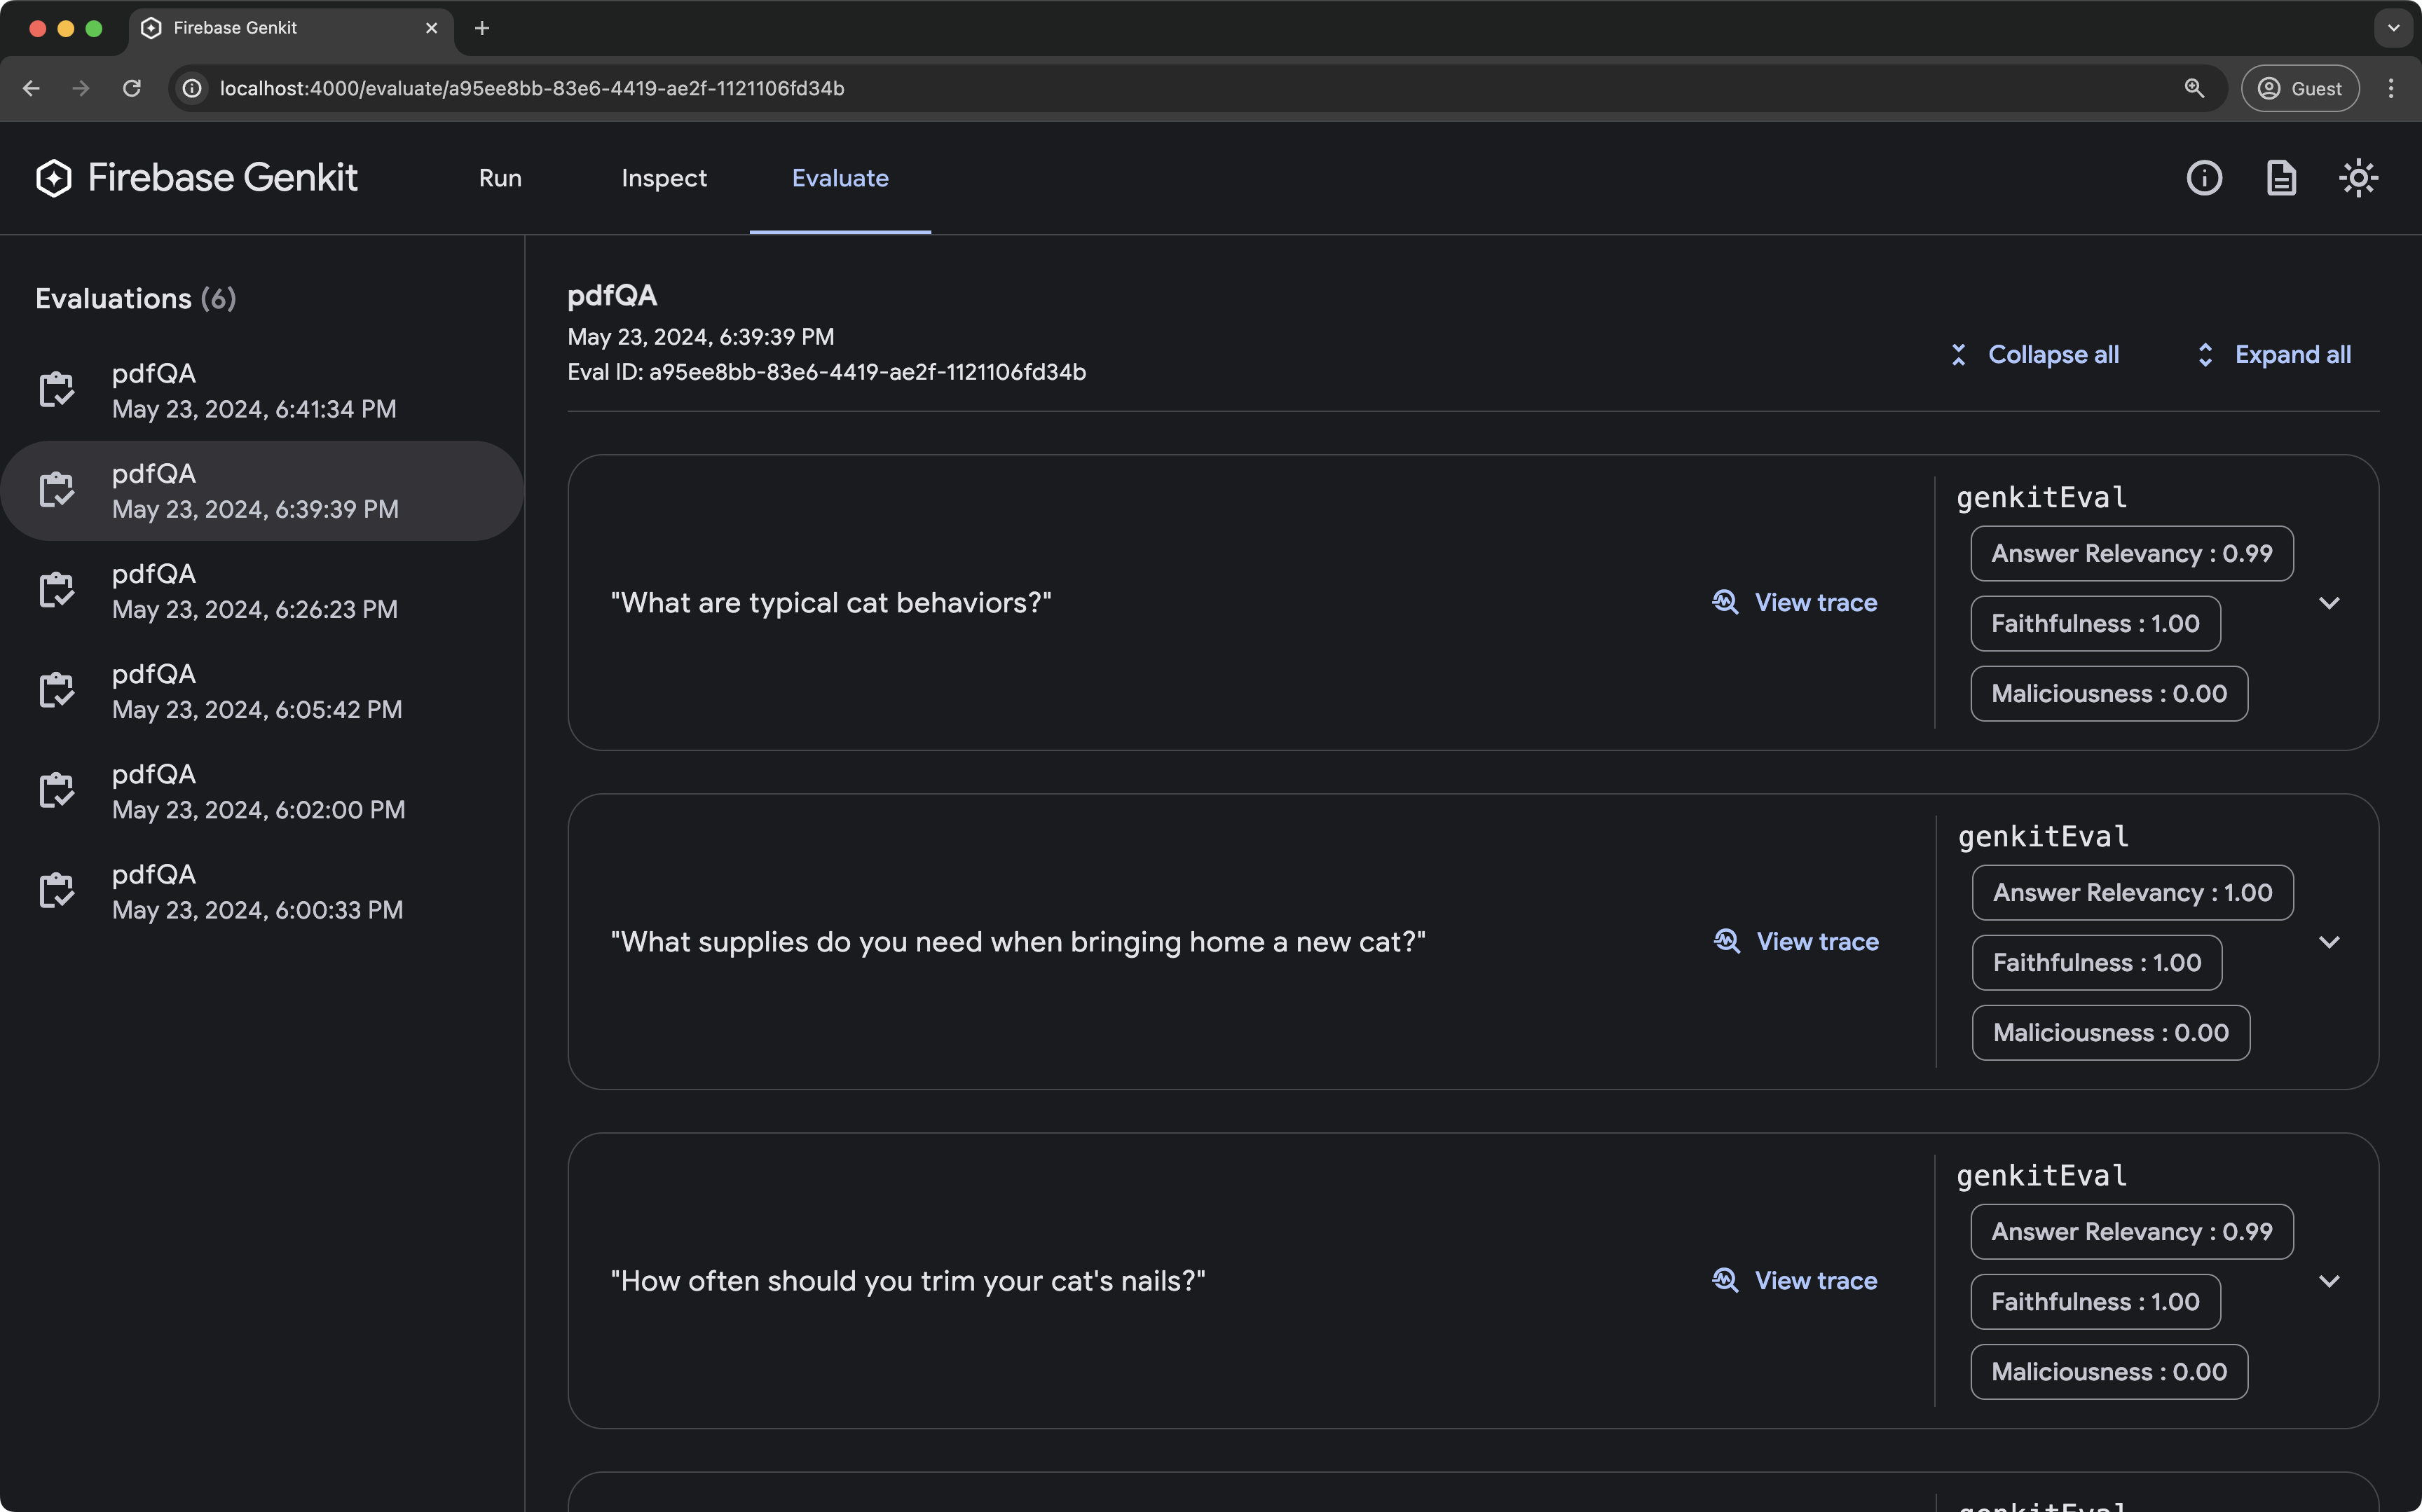
डेवलपमेंट टूल
Genkit, कमांड-लाइन इंटरफ़ेस (सीएलआई) और स्थानीय डेवलपर यूज़र इंटरफ़ेस (यूआई) उपलब्ध कराता है, ताकि एआई ऐप्लिकेशन बनाना आसान हो सके. इन टूल से आपको ये काम करने में मदद मिलती है:
- एक्सपेरिमेंट: अपने एआई फ़ंक्शन, प्रॉम्प्ट, और क्वेरी को टेस्ट करें और उन्हें बेहतर बनाएं.
- डीबग करना: एक्सीक्यूशन ट्रेस की ज़्यादा जानकारी की मदद से, समस्याओं का पता लगाएं और उन्हें ठीक करें.
- आकलन करना: एक से ज़्यादा टेस्ट केस में जनरेट हुए नतीजों का आकलन करें.
हमसे संपर्क करें
- कम्यूनिटी में शामिल हों: हमारे Discord सर्वर पर अपडेट पाएं, सवाल पूछें, और अपना काम शेयर करें.
- सुझाव/राय दें या शिकायत करें: GitHub पर मौजूद समस्या ट्रैकर का इस्तेमाल करके, समस्याओं की शिकायत करें या नई सुविधाओं के सुझाव दें.
अगले चरण
शुरू करने के लिए गाइड में, Genkit की मदद से अपना पहला एआई ऐप्लिकेशन बनाने का तरीका जानें.