
Dengan aplikasi Next.js atau Angular yang ada (Next.js versi 13.5.x+ atau Angular 18.2.x+) di repositori GitHub, memulai App Hosting dapat dilakukan dengan mudah seperti membuat backend App Hosting, lalu memulai peluncuran dengan mengirim ke cabang aktif Anda. Jika Anda tidak memiliki aplikasi, gunakan salah satu aplikasi contoh kami untuk mempelajari langkah-langkah yang dijelaskan dalam panduan ini.
Panduan ini menjelaskan cara menyiapkan App Hosting di Firebase console untuk
men-deploy secara otomatis setiap kali commit baru dibuat ke repositori GitHub. Di akhir alur ini, Anda akan memiliki aplikasi contoh Next.js atau Angular aktif yang di-deploy ulang setiap kali Anda melakukan commit perubahan baru ke cabang main repositori GitHub.
Meskipun panduan ini berfokus pada alur Firebase console yang direkomendasikan, ada cara lain untuk men-deploy, termasuk menggunakan Firebase CLI untuk men-deploy kode lokal tanpa koneksi GitHub.
Langkah 1: Fork repositori demo
Buka https://github.com/firebase/apphosting-adapters dan pilih Fork.
Langkah 2: Membuat backend App Hosting
Di Firebase console, buka Hosting & Serverless > App Hosting.
Klik Get started.
Jika diminta, upgrade ke paket harga Blaze bayar sesuai penggunaan untuk menggunakan App Hosting.
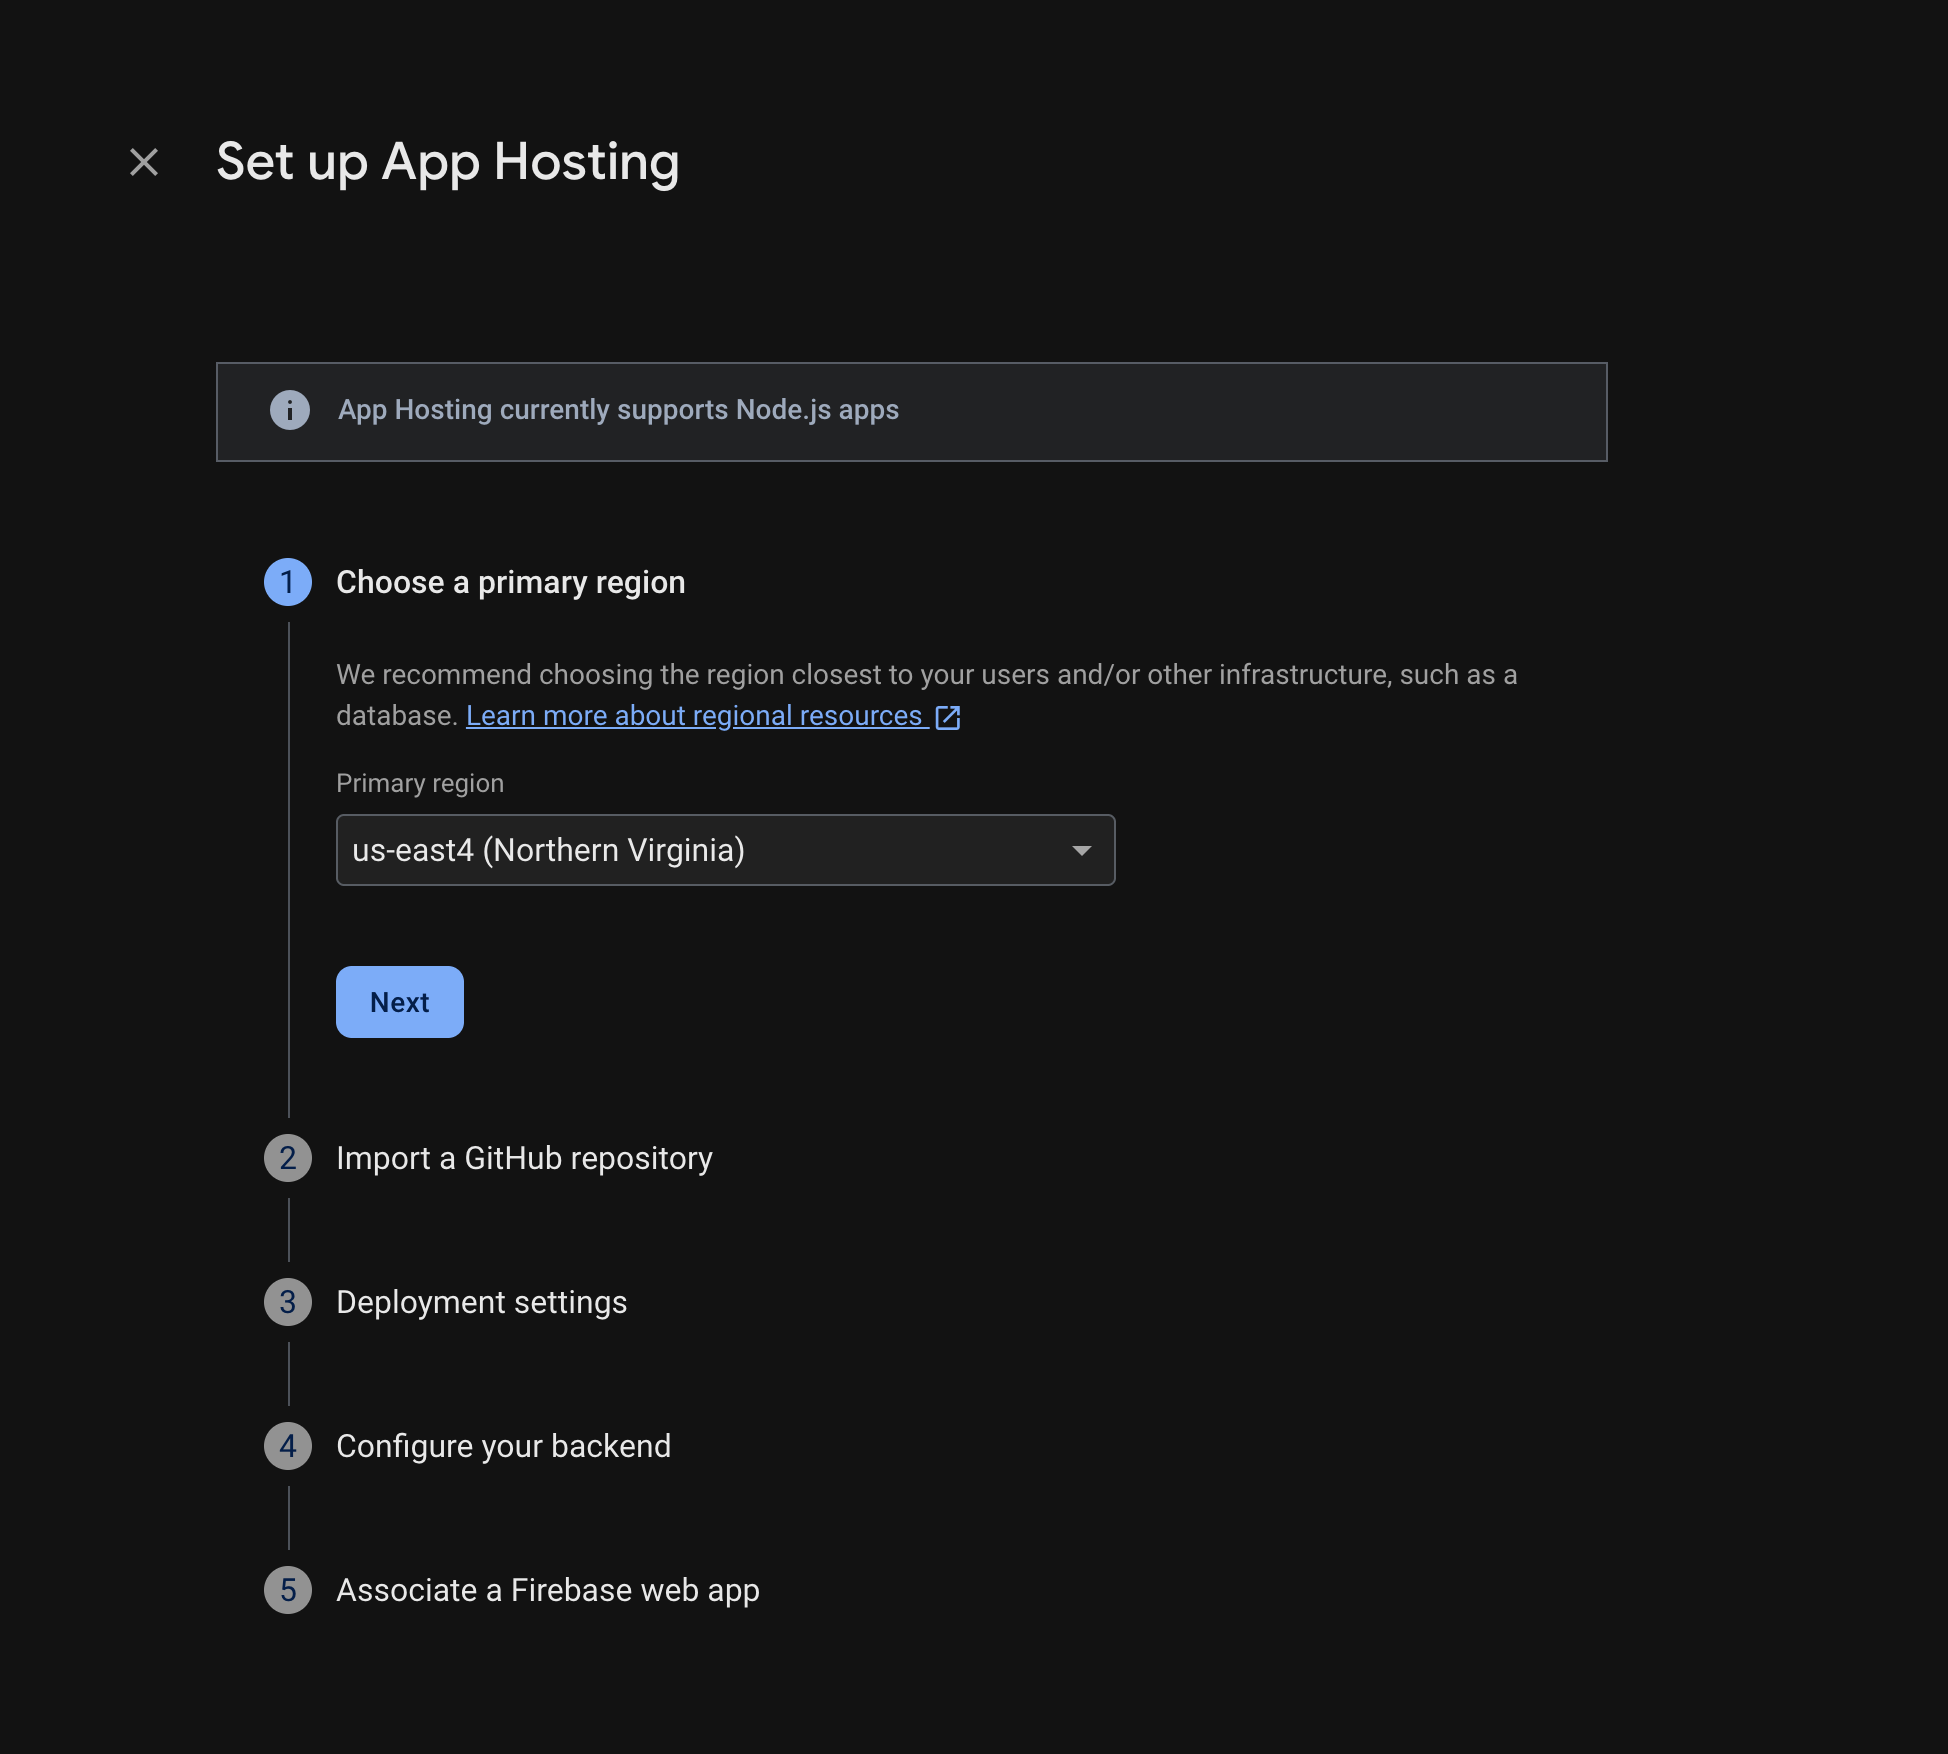
Ikuti perintah untuk menyelesaikan langkah-langkah berikut:
- Pilih wilayah utama (biasanya wilayah yang paling dekat dengan pengguna Anda).
- Hubungkan ke GitHub. Pilih repositori yang baru saja Anda buat dengan melakukan fork repositori firebase-framework-tools.
- Tetapkan direktori utama aplikasi Anda ke salah satu hal berikut:
- Tetapkan cabang aktif sebagai main.
- Aktifkan peluncuran otomatis (peluncuran otomatis diaktifkan secara default).
- Tetapkan nama ke backend Anda.
- Pilih lingkungan runtime Anda. Secara default, versi Node.js terbaru yang direkomendasikan akan dipilih untuk Anda.
- Konfigurasikan Pembaruan Image Dasar Otomatis (ABIU). ABIU diaktifkan secara default dan otomatis menerapkan patch keamanan ke lingkungan yang mendasarinya. Anda dapat memilih untuk tidak menggunakan ABIU dengan memilih "Not specified" untuk runtime Anda.
- Buat aplikasi web Firebase baru.
Pilih Finish and deploy.
Langkah 3: Melihat aplikasi yang di-deploy
Saat Anda membuat backend, Firebase akan memberi Anda subdomain tanpa biaya tempat pengguna akhir dapat mengunjungi aplikasi web Anda. Formatnya adalah
backend-id--project-id.us-central1.hosted.app.
Di baris Backend information di dasbor untuk backend Anda, pilih link ke backend aktif Anda untuk melihat situs baru Anda:

Langkah 4: Memicu peluncuran dengan mengirim perubahan
Setelah backend dibuat dan Anda memiliki URL aktif, Anda dapat memicu peluncuran versi baru aplikasi web Anda setiap kali Anda mengirim perubahan ke cabang aktif repositori GitHub Anda. Untuk melakukan pengujian penyiapan App Hosting Anda:
Di fork repositori GitHub demo Anda, buka sumber halaman beranda aplikasi demo, buat pengeditan yang dapat dikenali, lalu kirim perubahan Anda ke cabang utama. Untuk menemukan halaman beranda Anda:
- Next.js:
/starters/nextjs/basic/src/app/page.tsx - Angular:
/starters/angular/basic/src/app/pages/home/home.component.html
- Next.js:
Di Firebase console, pantau App Hosting saat perubahan baru Anda diluncurkan ke produksi. Setelah peluncuran selesai, Anda dapat melihat perubahan di halaman beranda aplikasi.
Langkah berikutnya
- Pelajari lebih lanjut: ikuti codelab Firebase yang mengintegrasikan aplikasi yang dihosting dengan Firebase Authentication dan Google AI fitur: Next.js | Angular
- Menghubungkan domain kustom.
- Konfigurasikan backend Anda—tetapkan variabel lingkungan, simpan parameter rahasia, dan lainnya.
- Pantau peluncuran, penggunaan situs, dan log.